Deploying Application with a Custom Domain Using Amazon S3, Route 53, CloudFront and Certificate Manager

In today's digital landscape, having a custom domain for your web application is essential. Not only does it give your application a professional touch, but it also makes it easier for users to find and remember your site. In this blog, we'll walk you through the process of deploying your application inside an Amazon S3 bucket and then configuring a custom domain with Route 53 and CloudFront to make it easily accessible to your users.
Prerequisites
AWS Account: You should have an AWS account with permissions to set up and configure Amazon Route 53 and Amazon CloudFront and Certificate Manager.
Deploy Your Application with a Custom Domain
Registering a Domain with Namecheap
If you haven't already registered a custom domain, you can do so through domain registrars like Namecheap or Godaddy. Choose a domain name that aligns with the purpose of your application.
- Go to the NameCheap Website and search for a domain
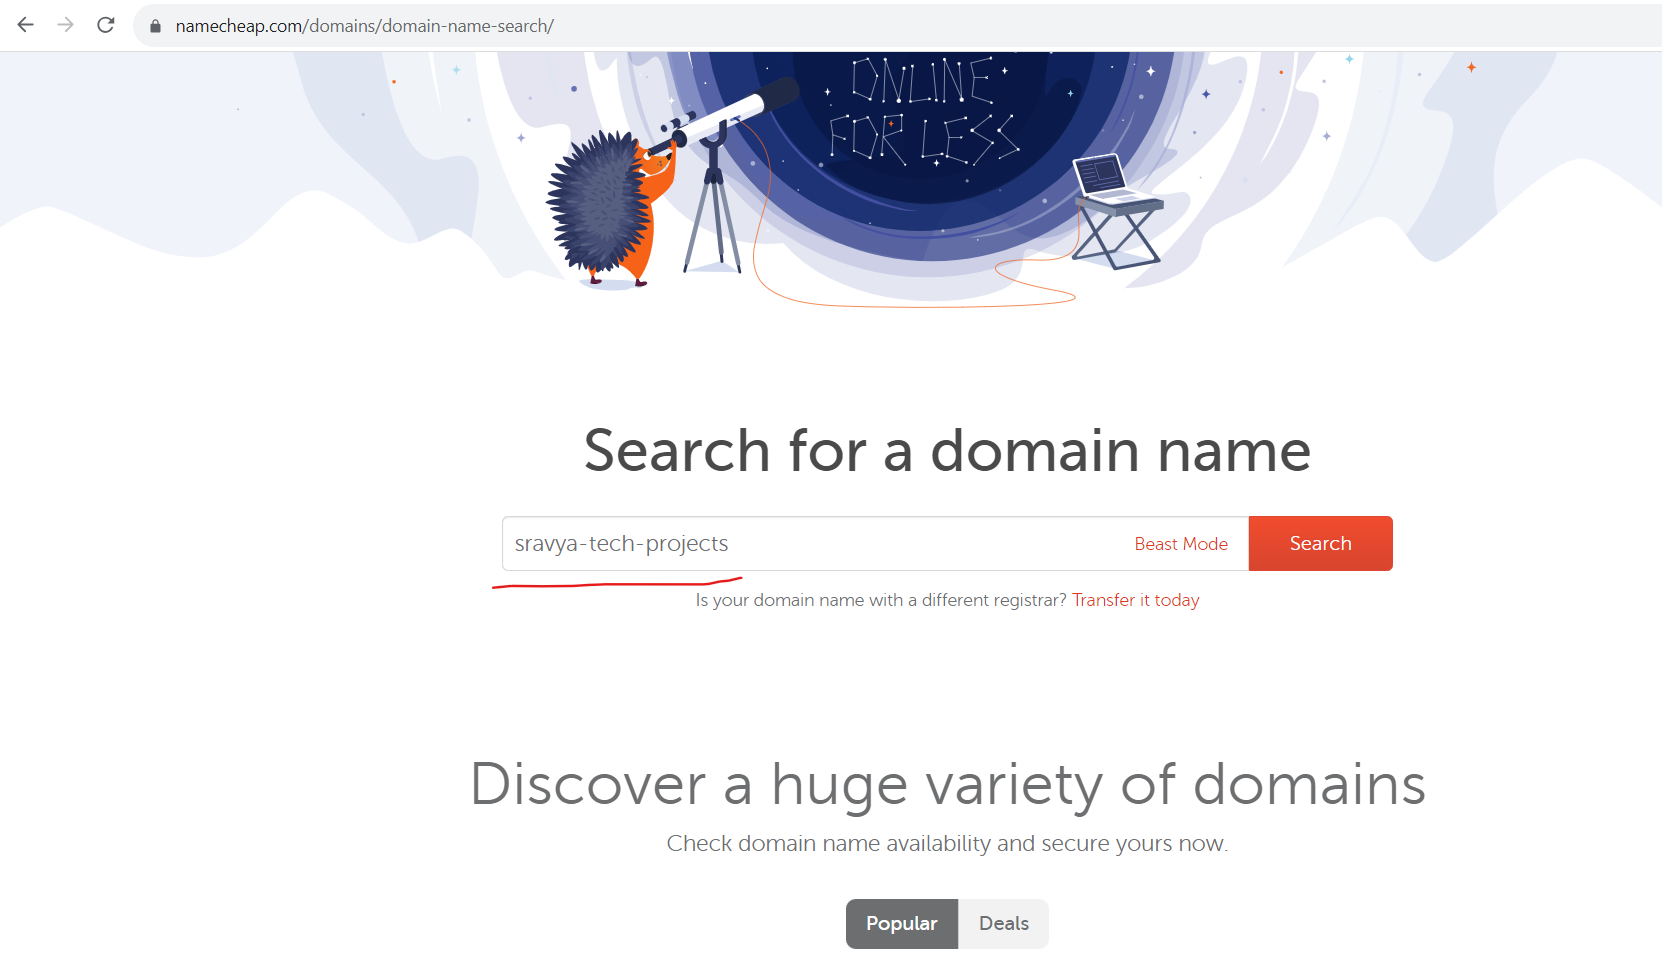
- Choose a domain name that aligns with the purpose of your application.
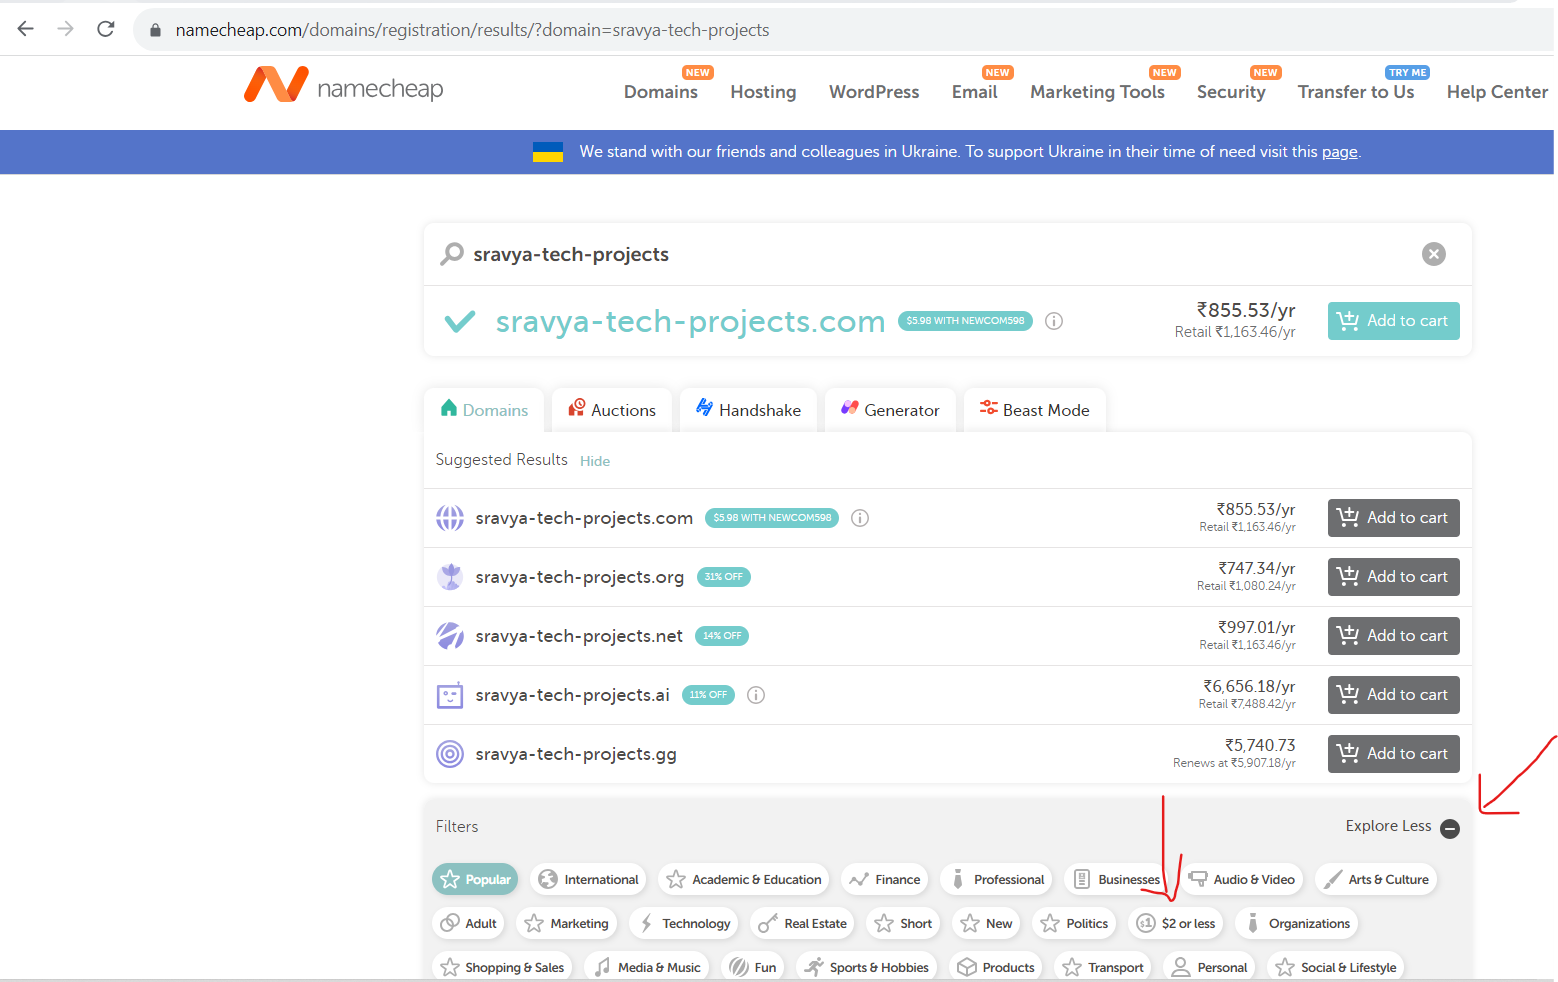
Note: If you want a domain for your practice click on Explore and select $2 or less then you can find the domain below $2
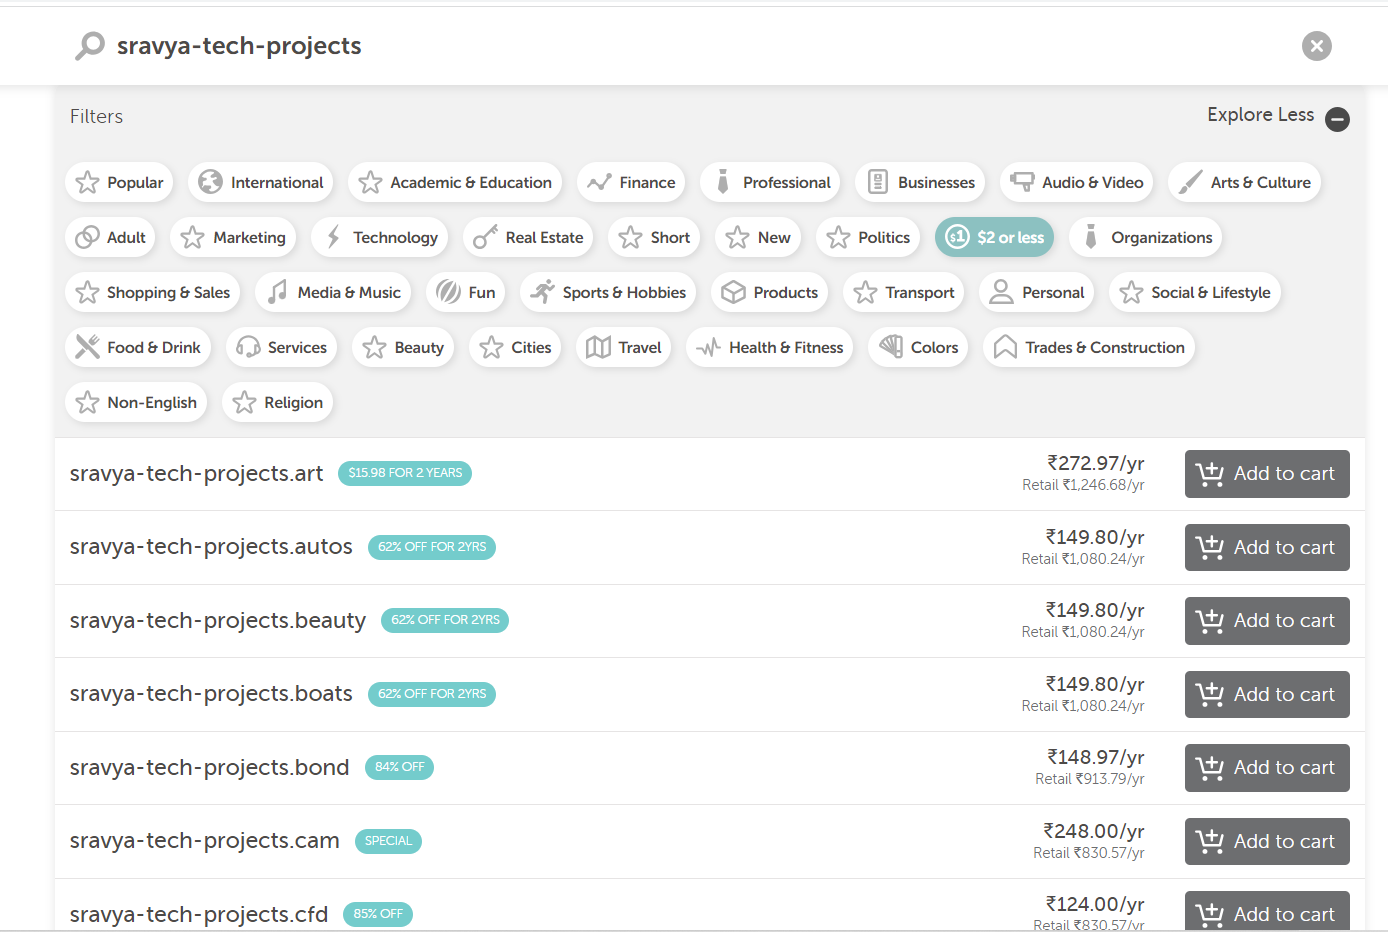
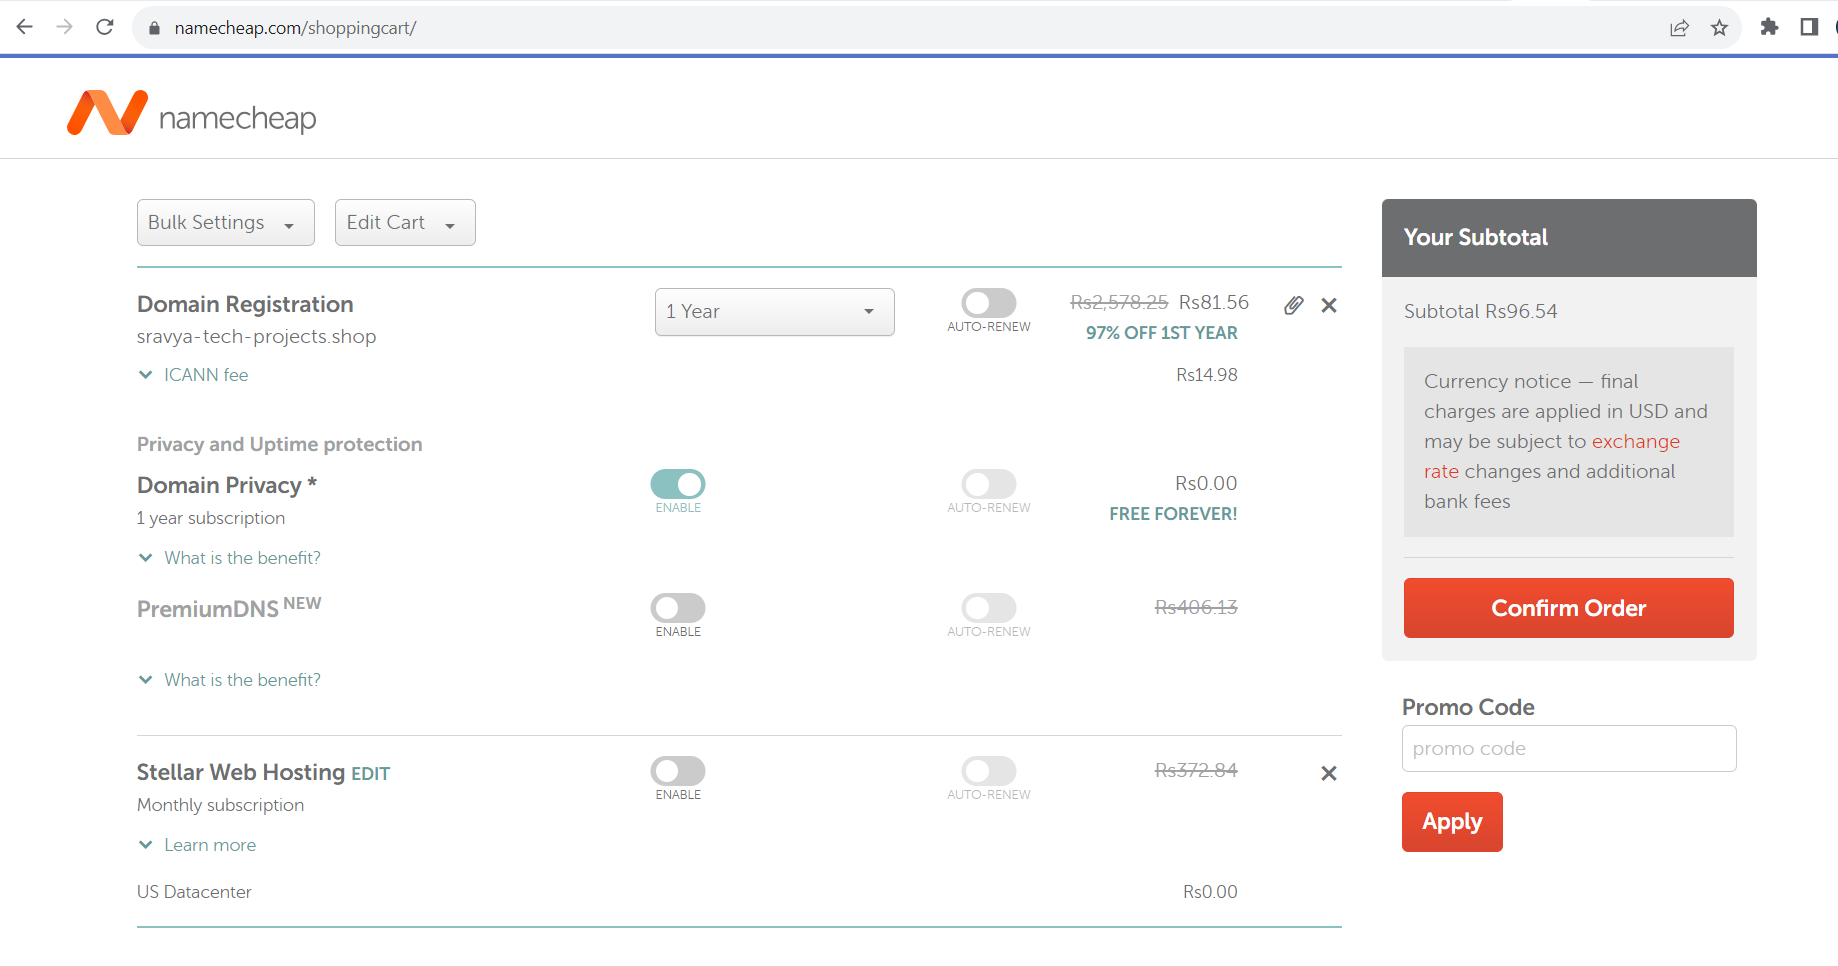
- Click on Add to Cart and Checkout to buy your domain based on the purpose of your application
Configuring AWS Route 53 Hosted Zones
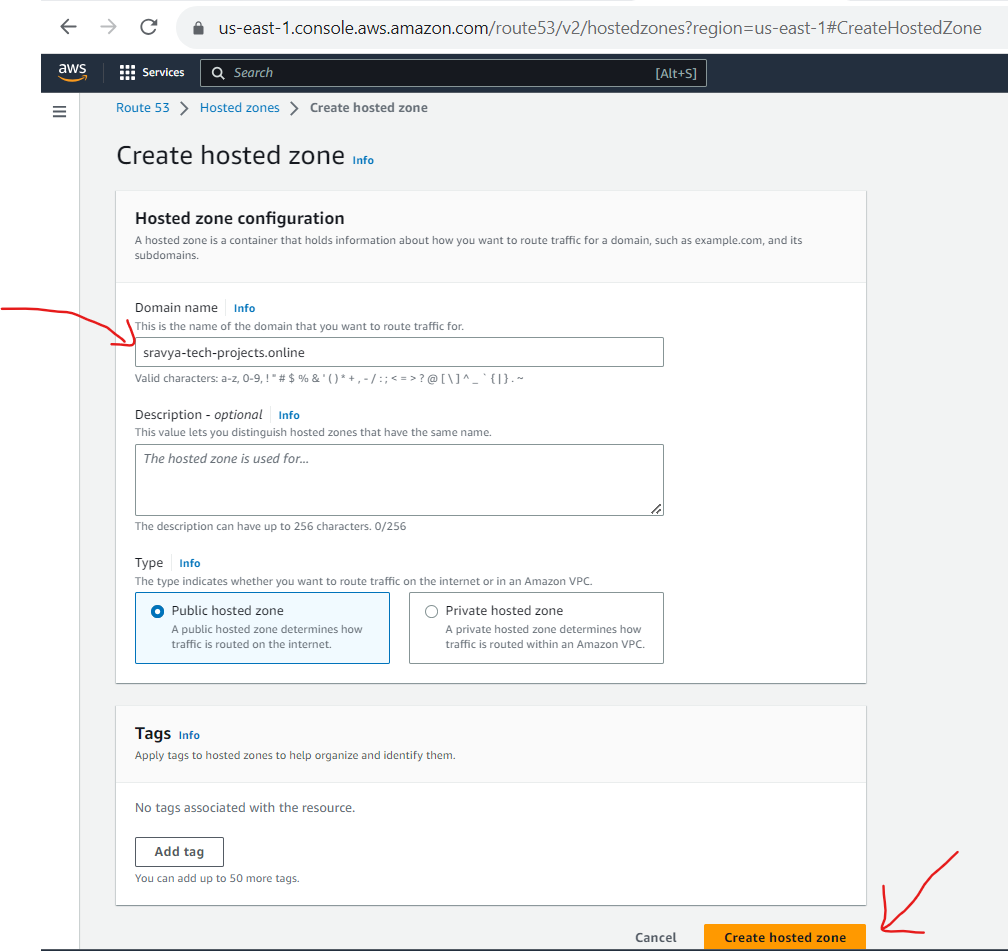
- Navigate to the AWS Route 53 console and click on Create hosted zone

- Give the domain name created in the Namecheap website and click on Create Hosted zone
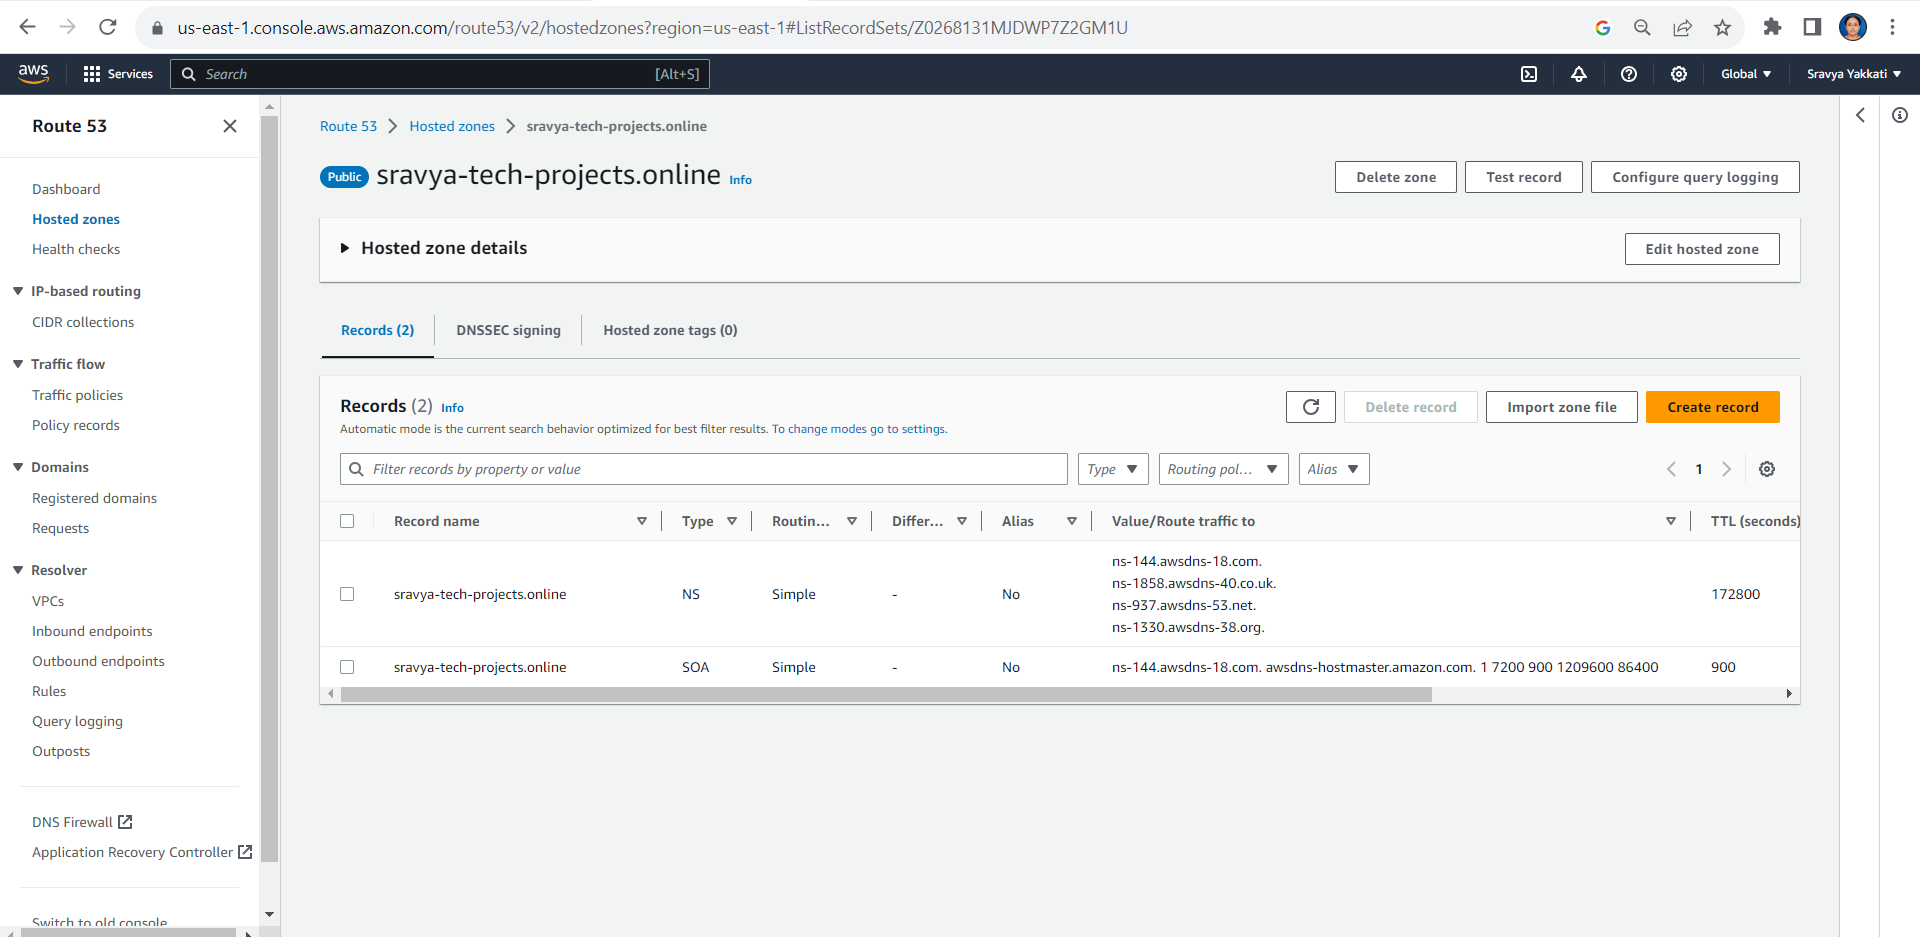
- Created a hosted zone with the Name Servers(NS) and Start of Authority(SOA) records
Update Name Servers
In the Namecheap dashboard (or your domain registrar's control panel), update the DNS name servers to match the ones provided by your AWS Route 53 hosted zone.
Note: This step links your custom domain to your AWS resources.
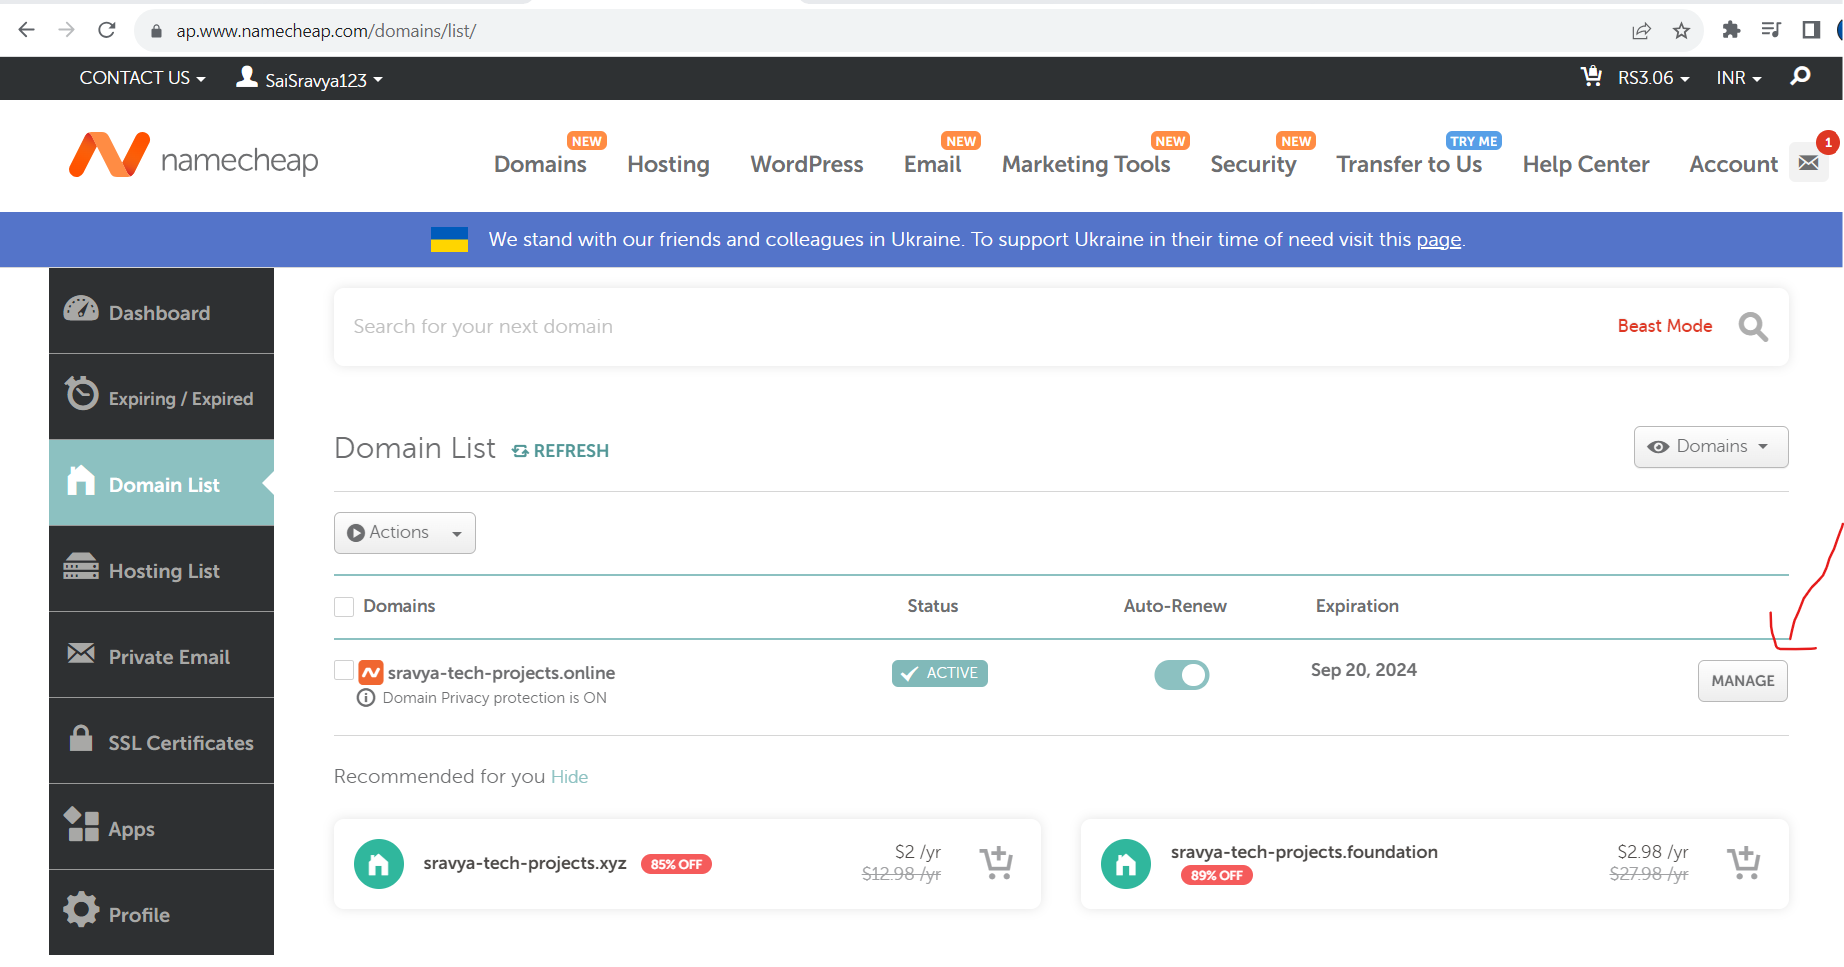
- Go to Name Cheap Website, Go to Domain Lists and click on Manage to update the name servers
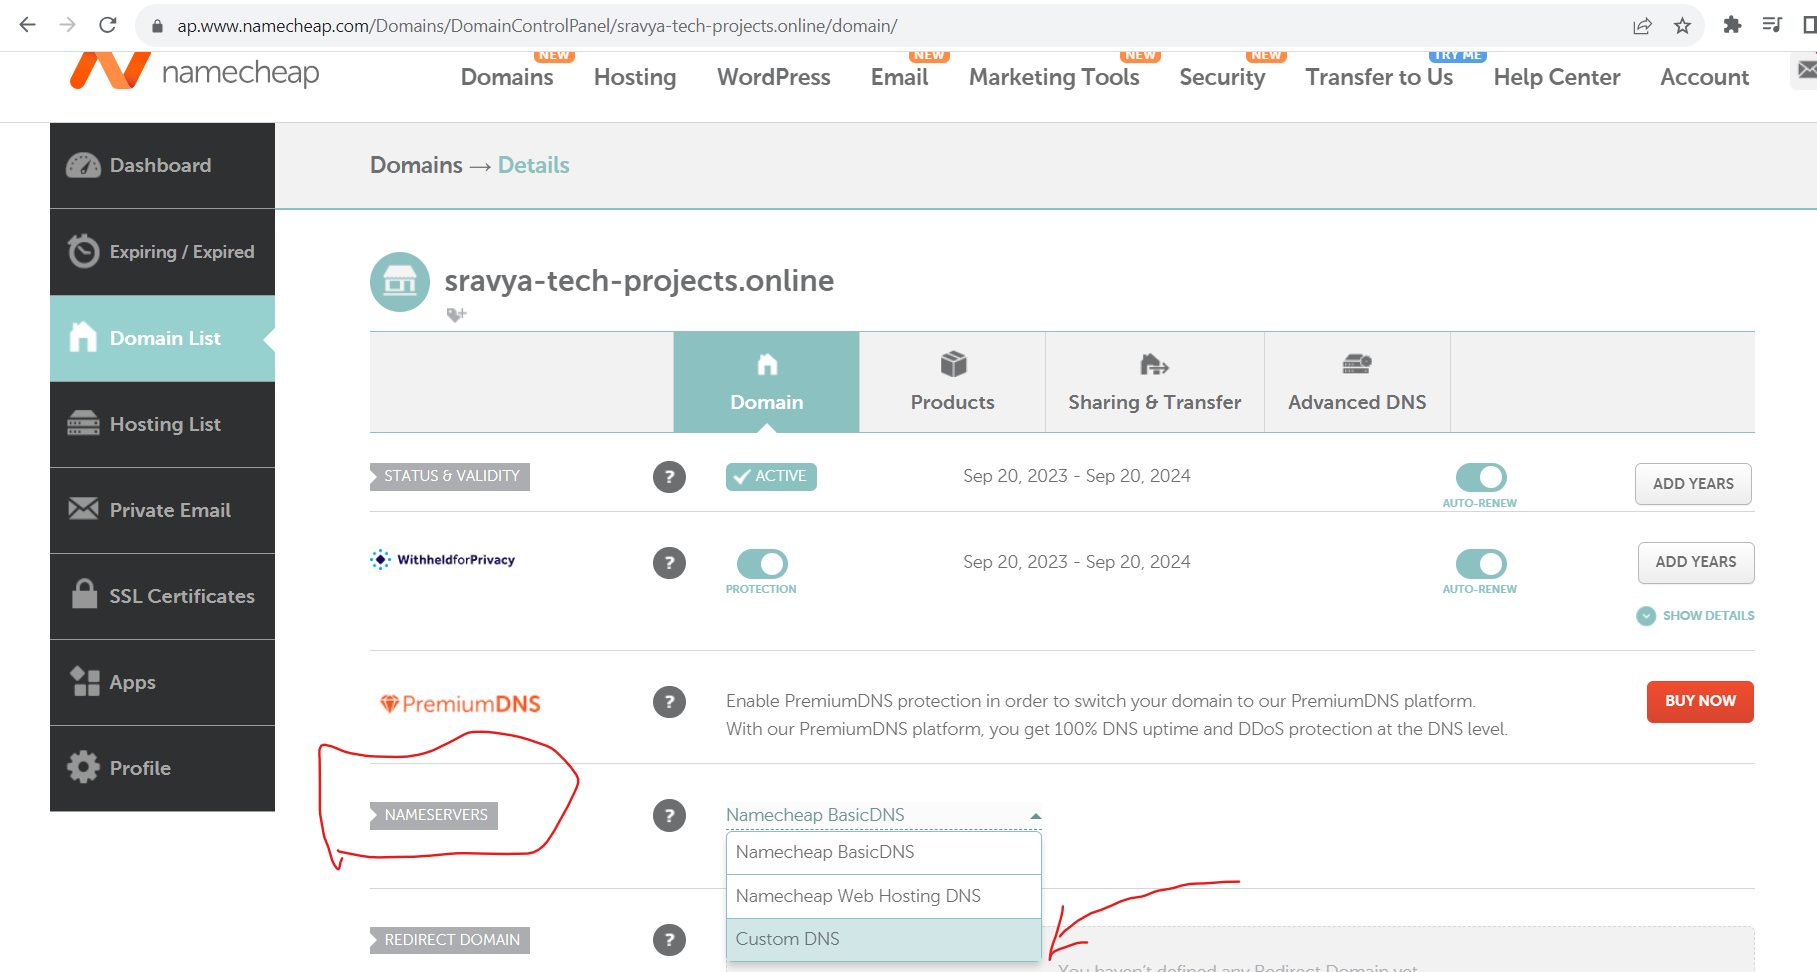
- Go to Domain Section and Select Custom DNS under the NameServers Section
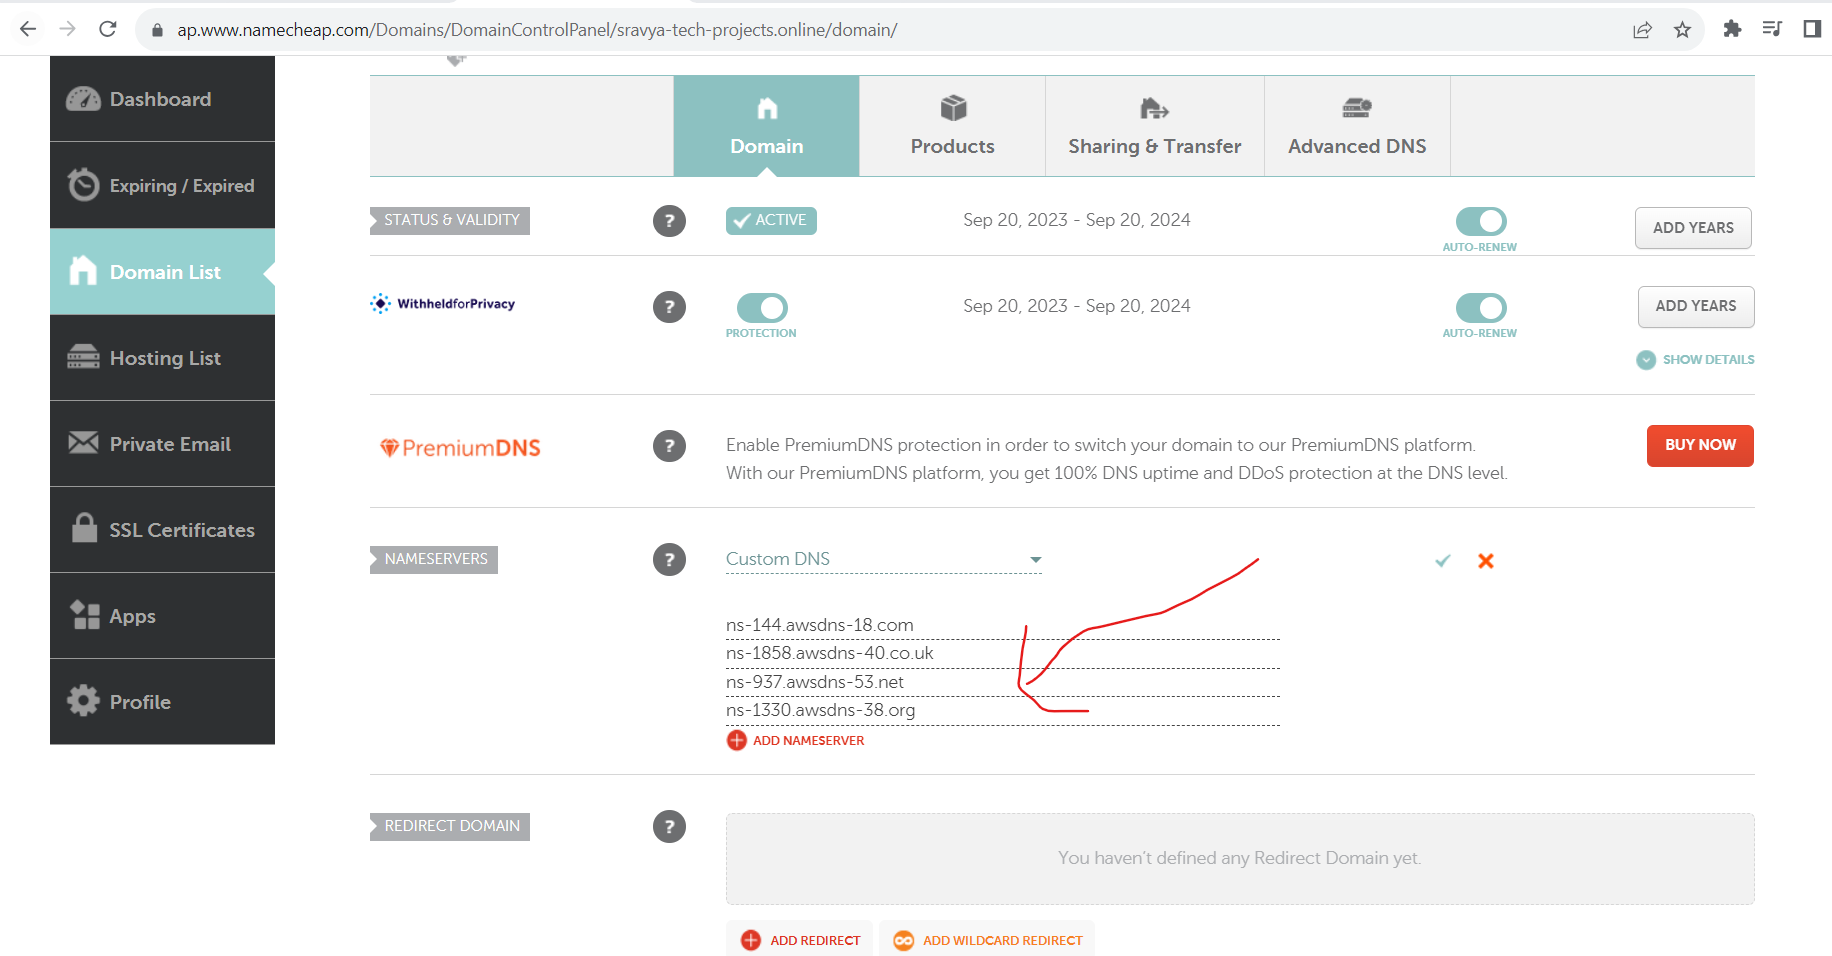
- Update the NameServers which we have under the Route53 hosted zone section
Configure Your S3 Bucket
Log in to the AWS Management Console.
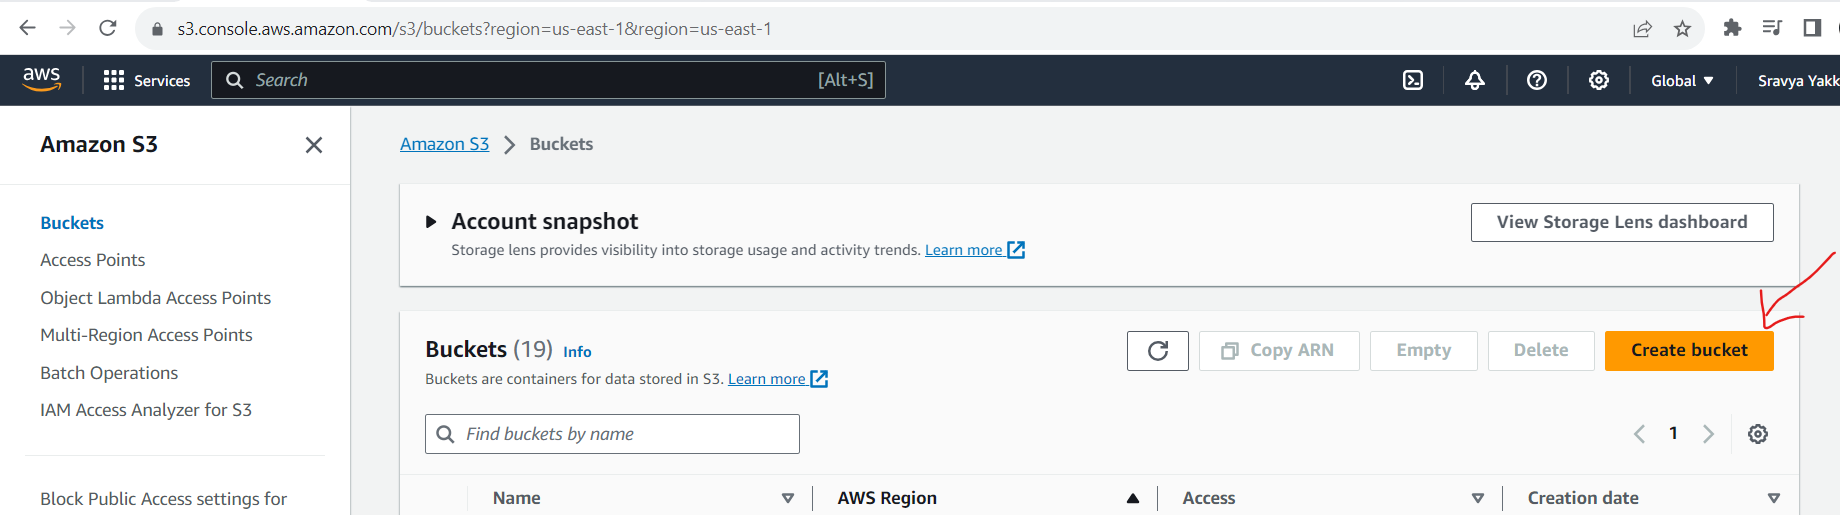
Navigate to the Amazon S3 service.
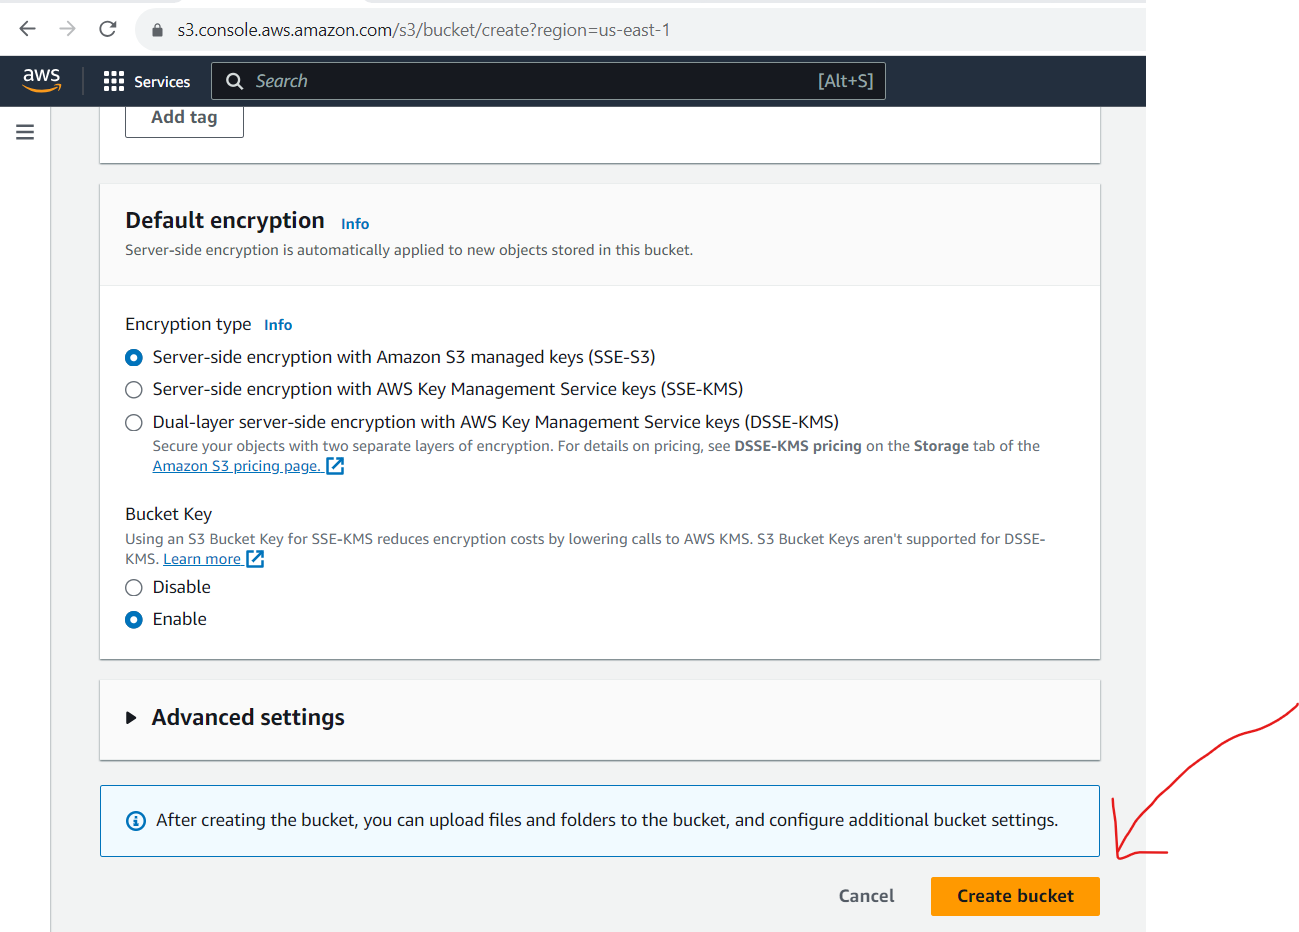
Click on Create an S3 bucket
- Give the name of the s3 bucket both the s3 bucket name and domain name should be the same
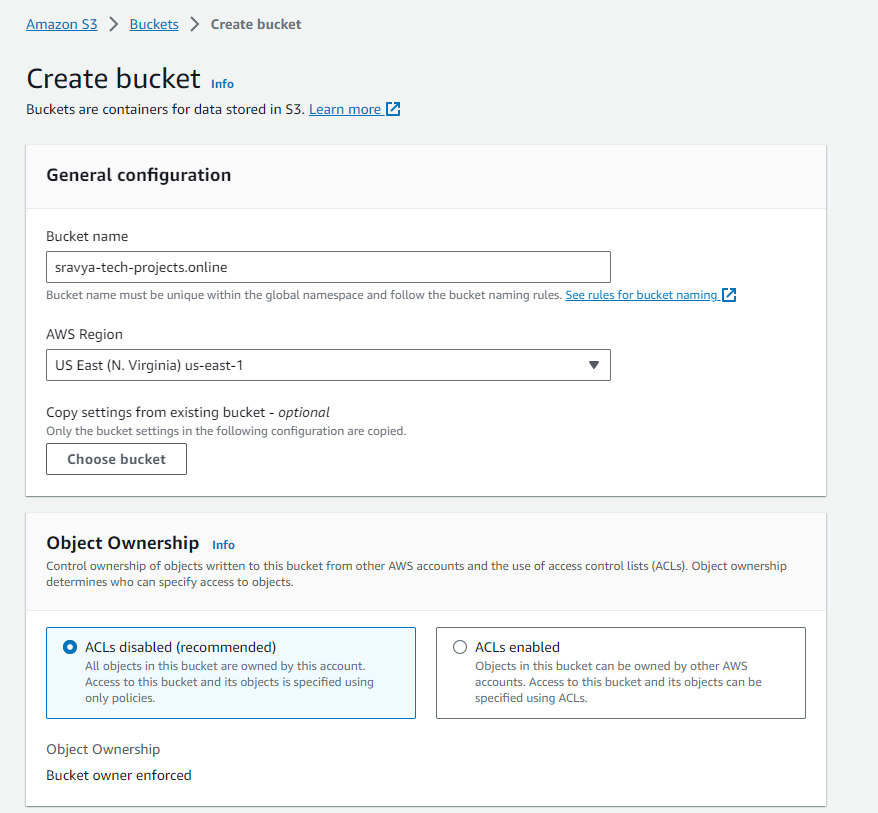
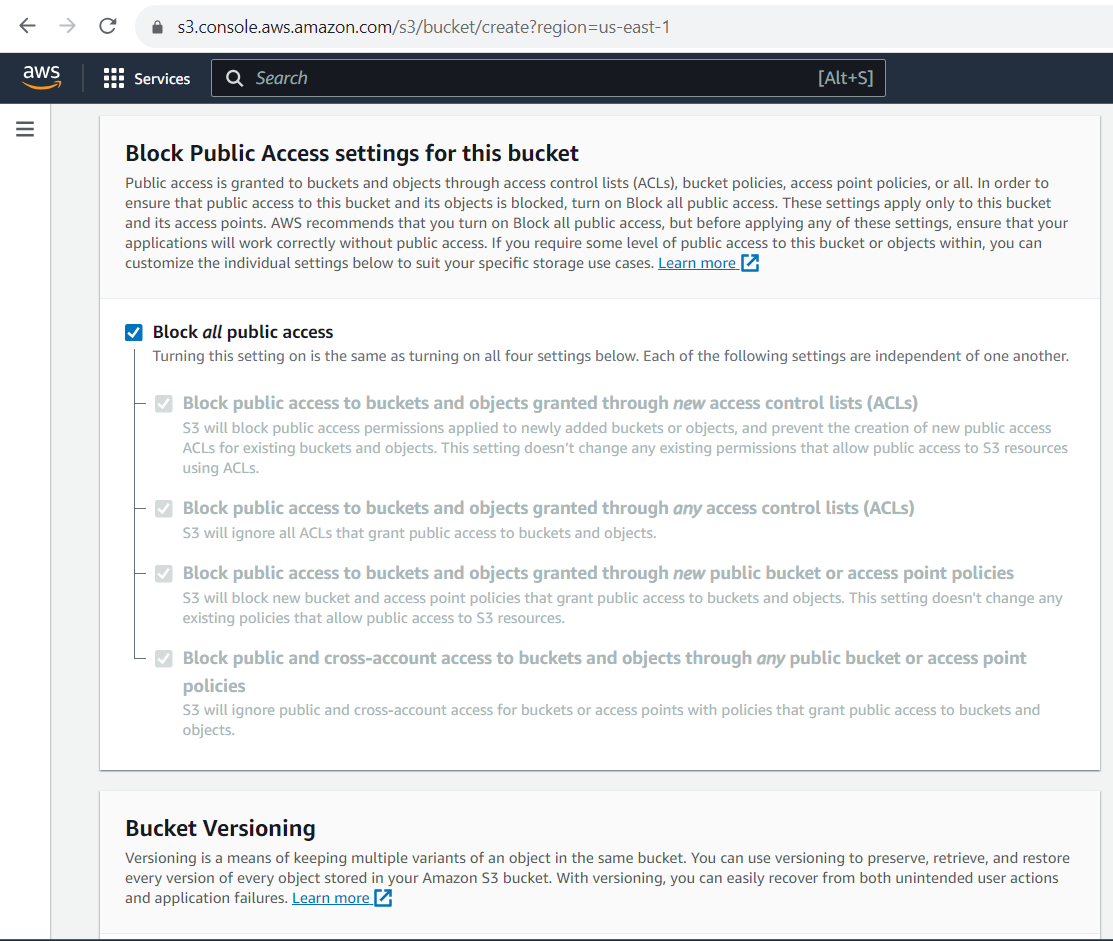
- Block all public access
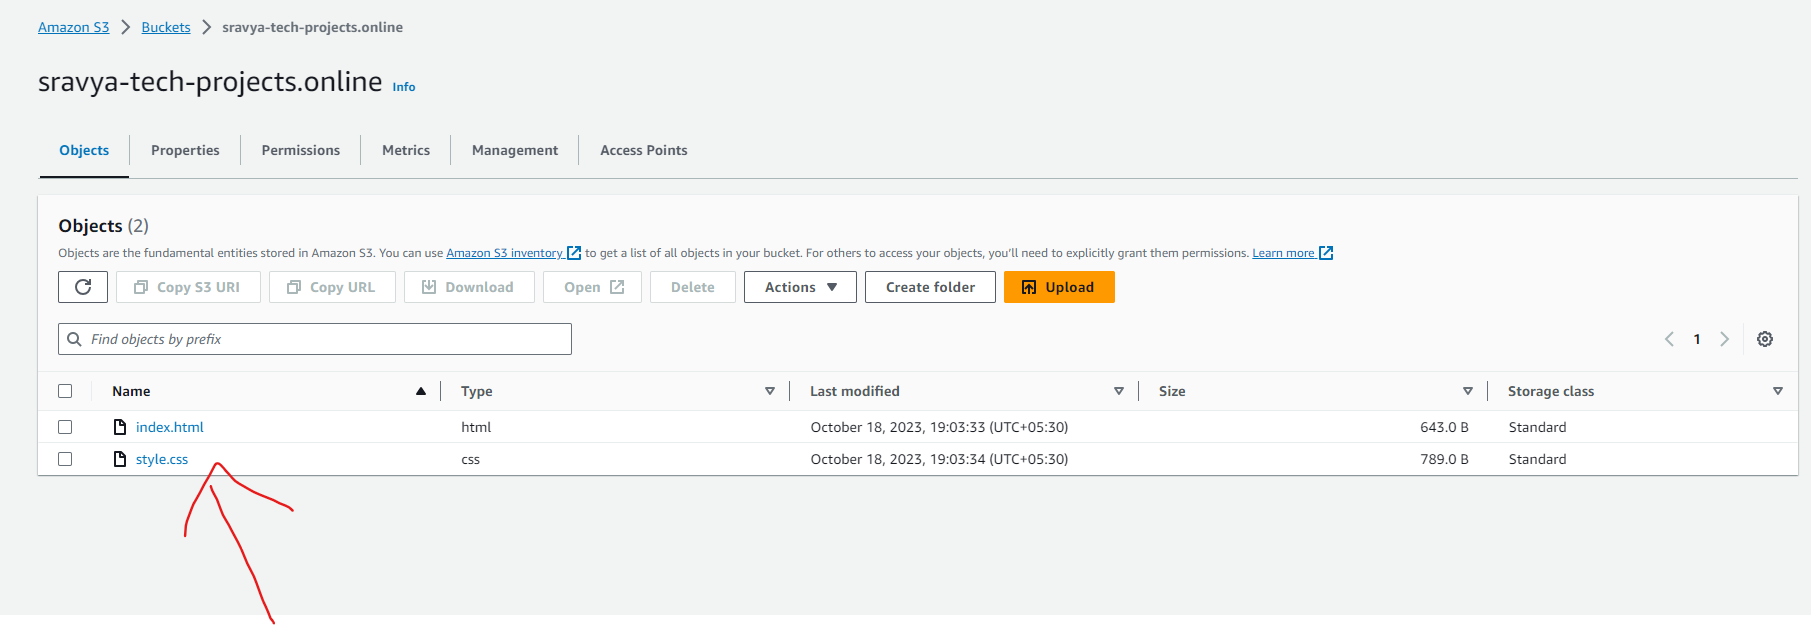
- Upload web content files to the s3 bucket
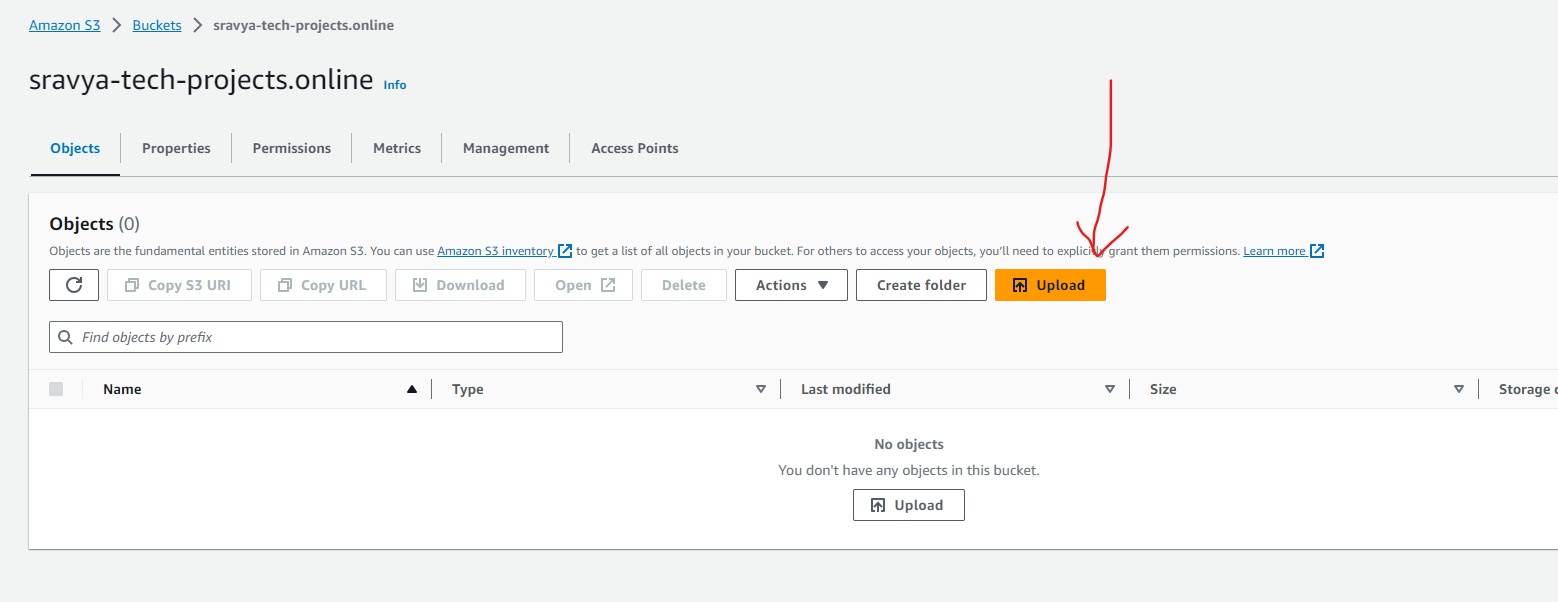
- Uploaded web content files to the s3 bucket
Create an ACM Certificate
In the AWS Management Console, navigate to the ACM (Amazon Certificate Manager) service.
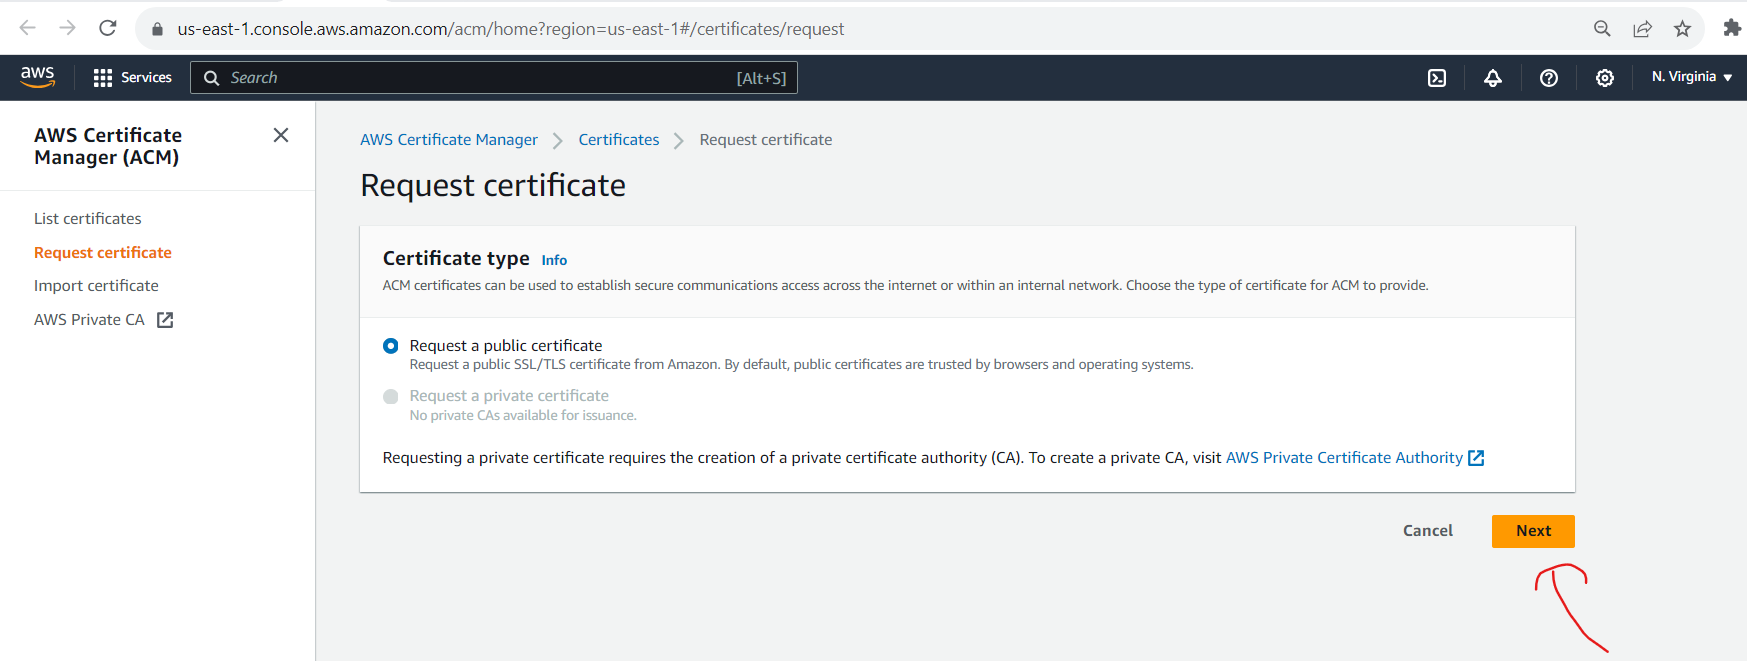
Click "Request a certificate."

- Choose "Request a public certificate."
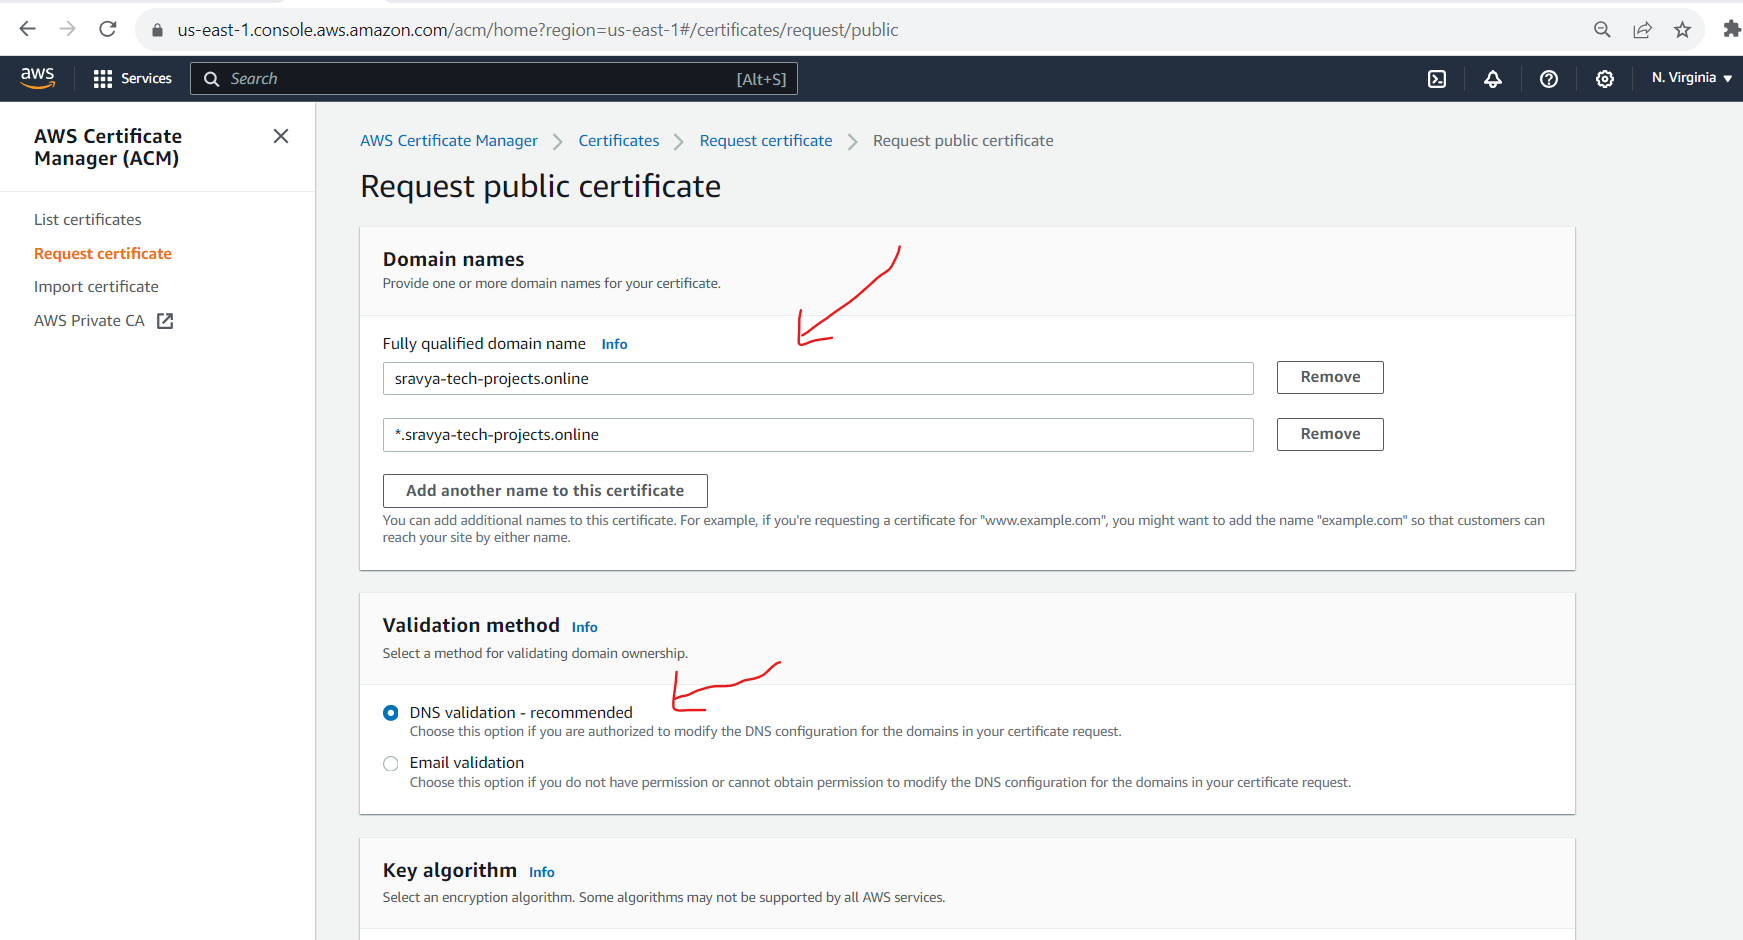
Enter your domain name (e.g., sravya-tech-projects.online) and any additional domain names (e.g., cloudfront.sravya-tech-projects.online) you wish to secure with the certificate. Click "Next."
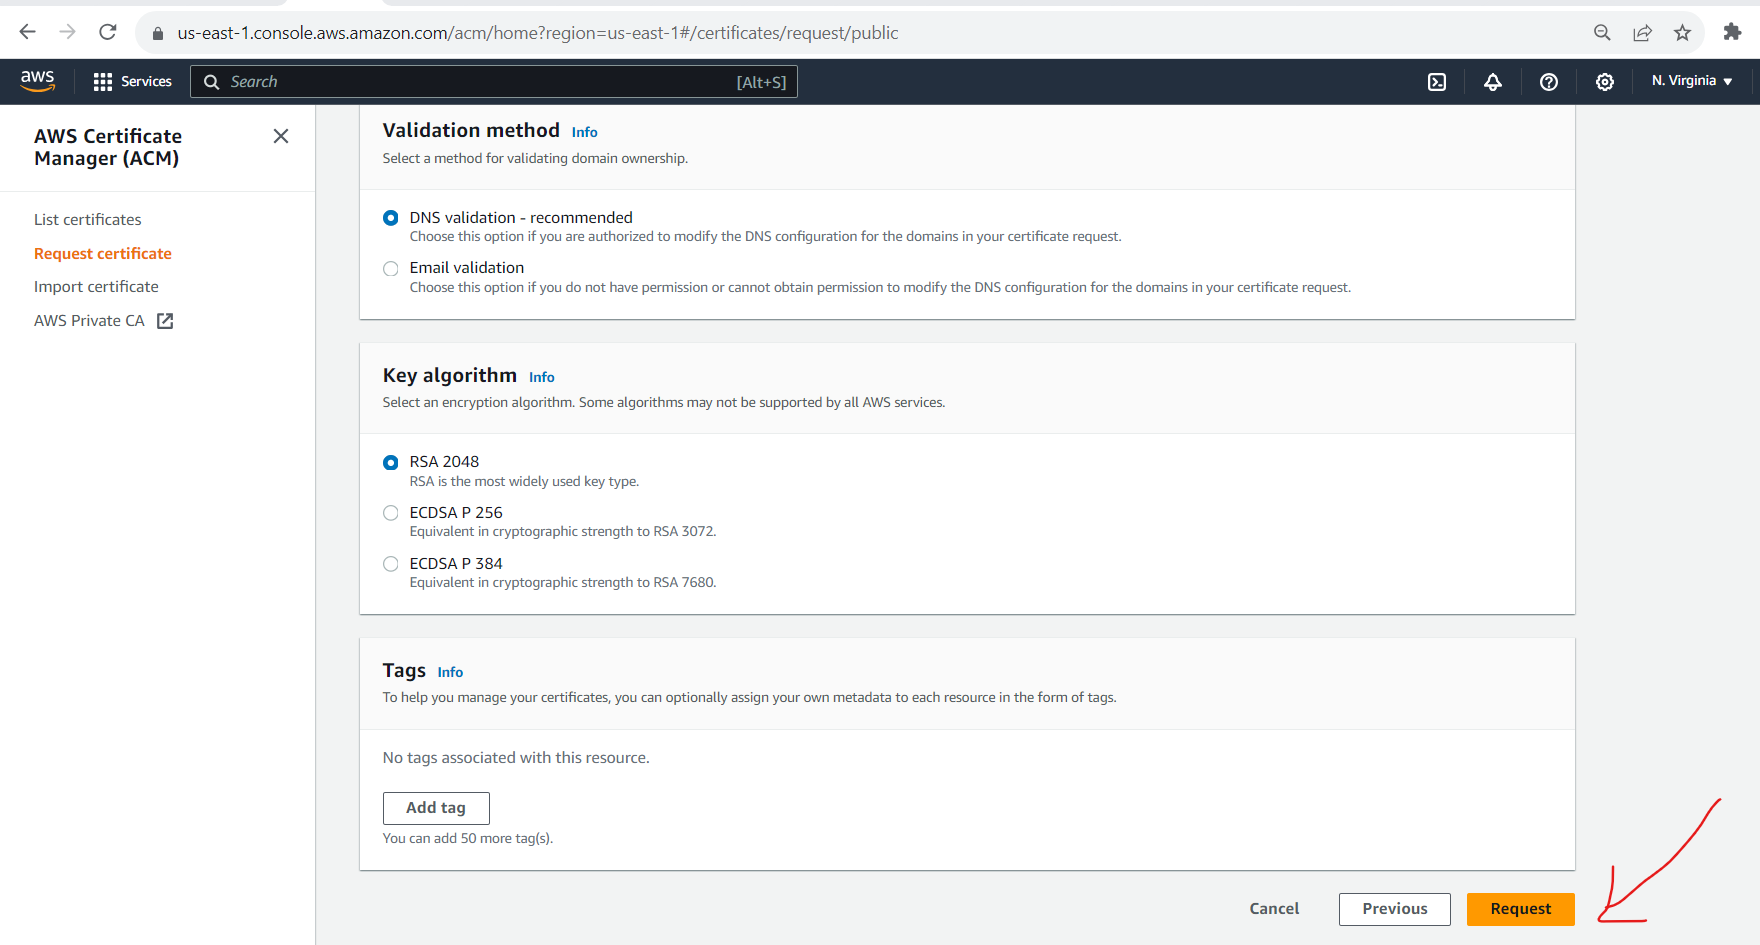
Choose a validation method (DNS validation is recommended) and complete the necessary steps for domain validation.
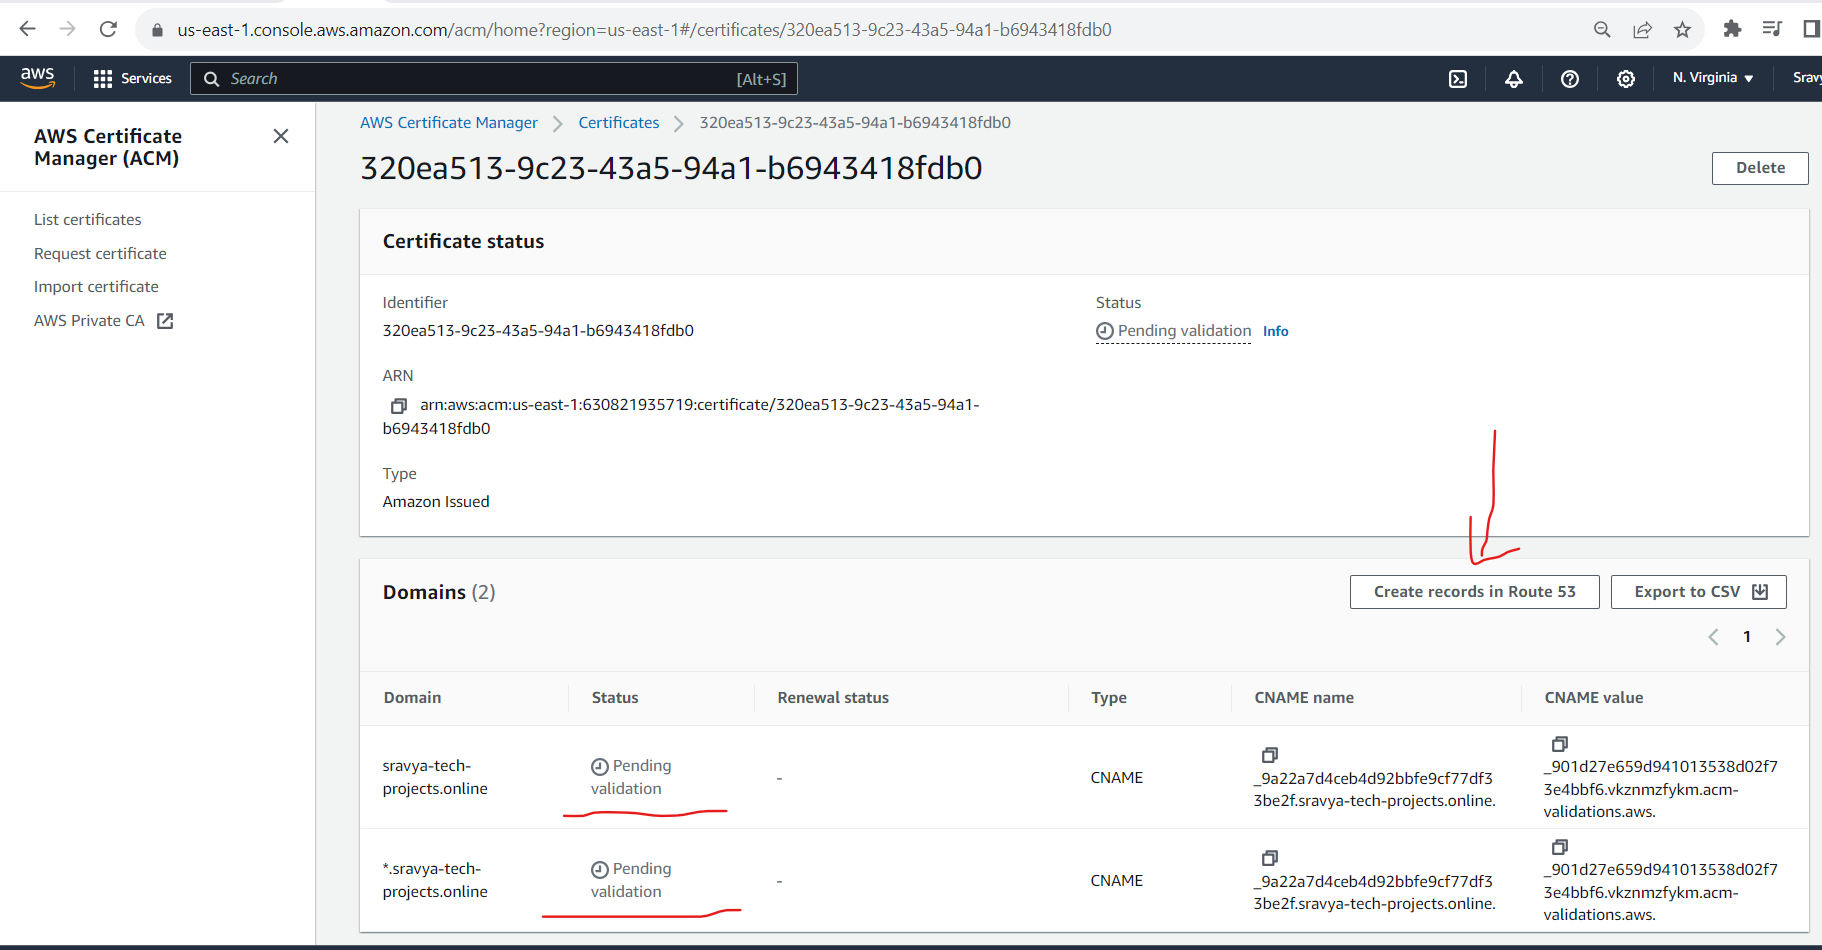
- Request for certificate
- Click on Create records in route 53 then automatically these CNAME name and CNAME values for this certificate record will update in the route53 hosted zone
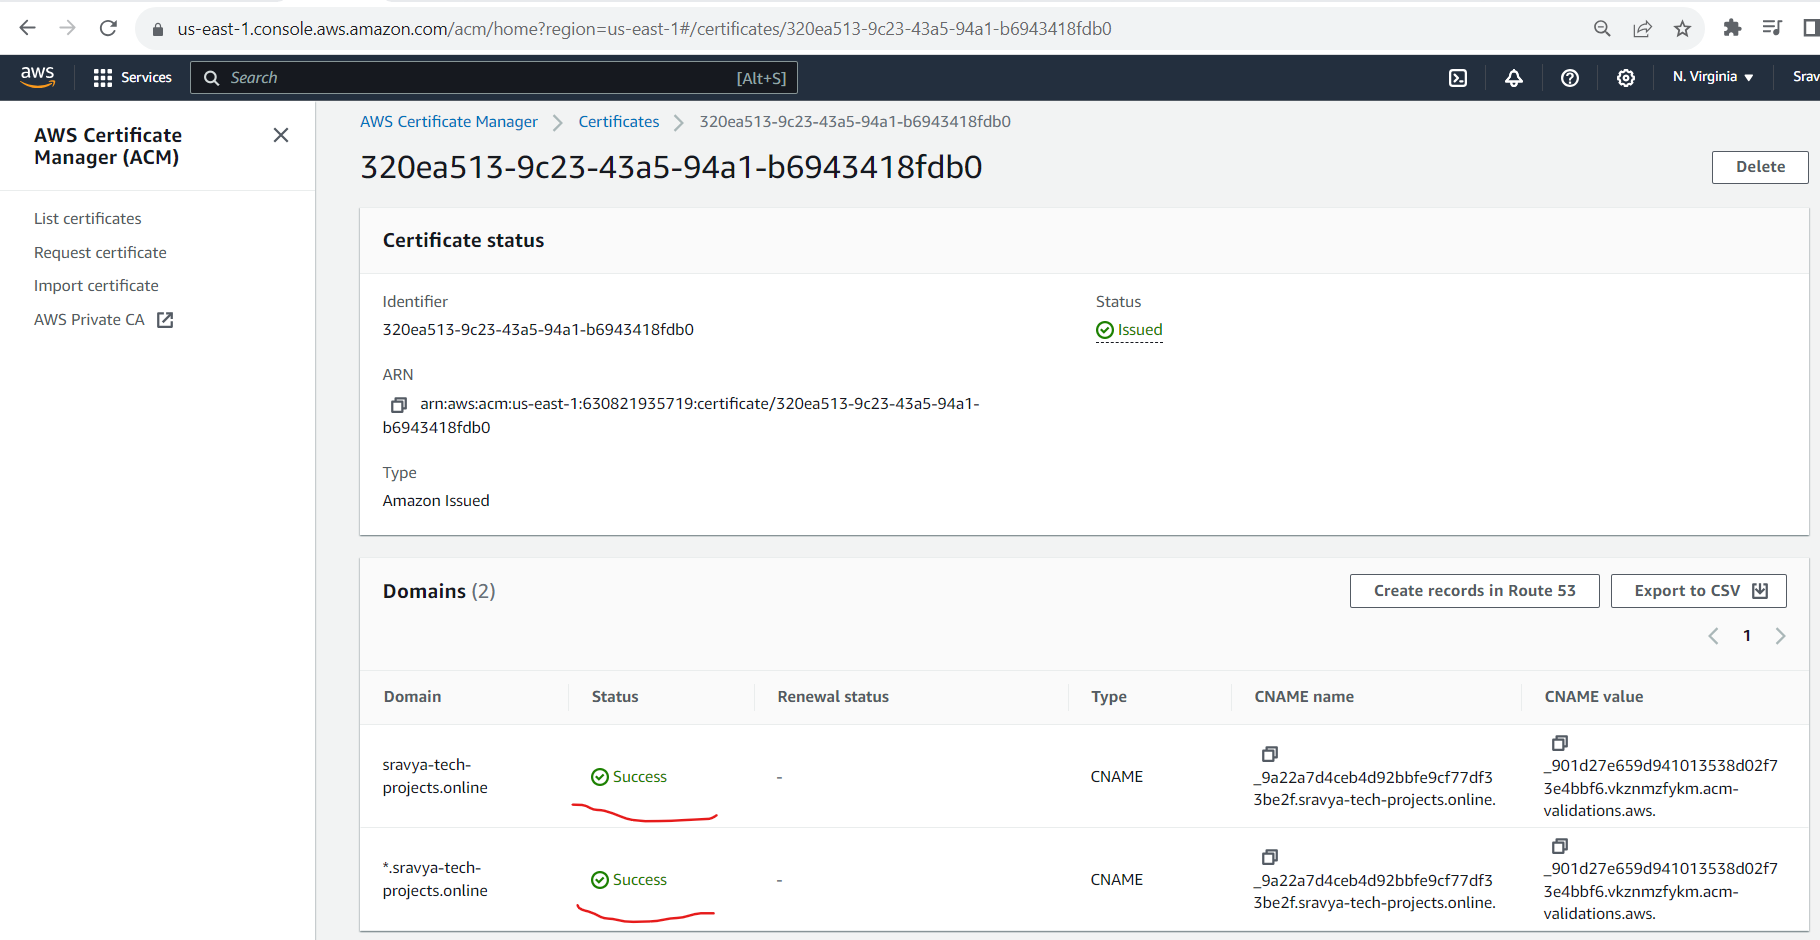
- Once validation is successful, your certificate will be issued.
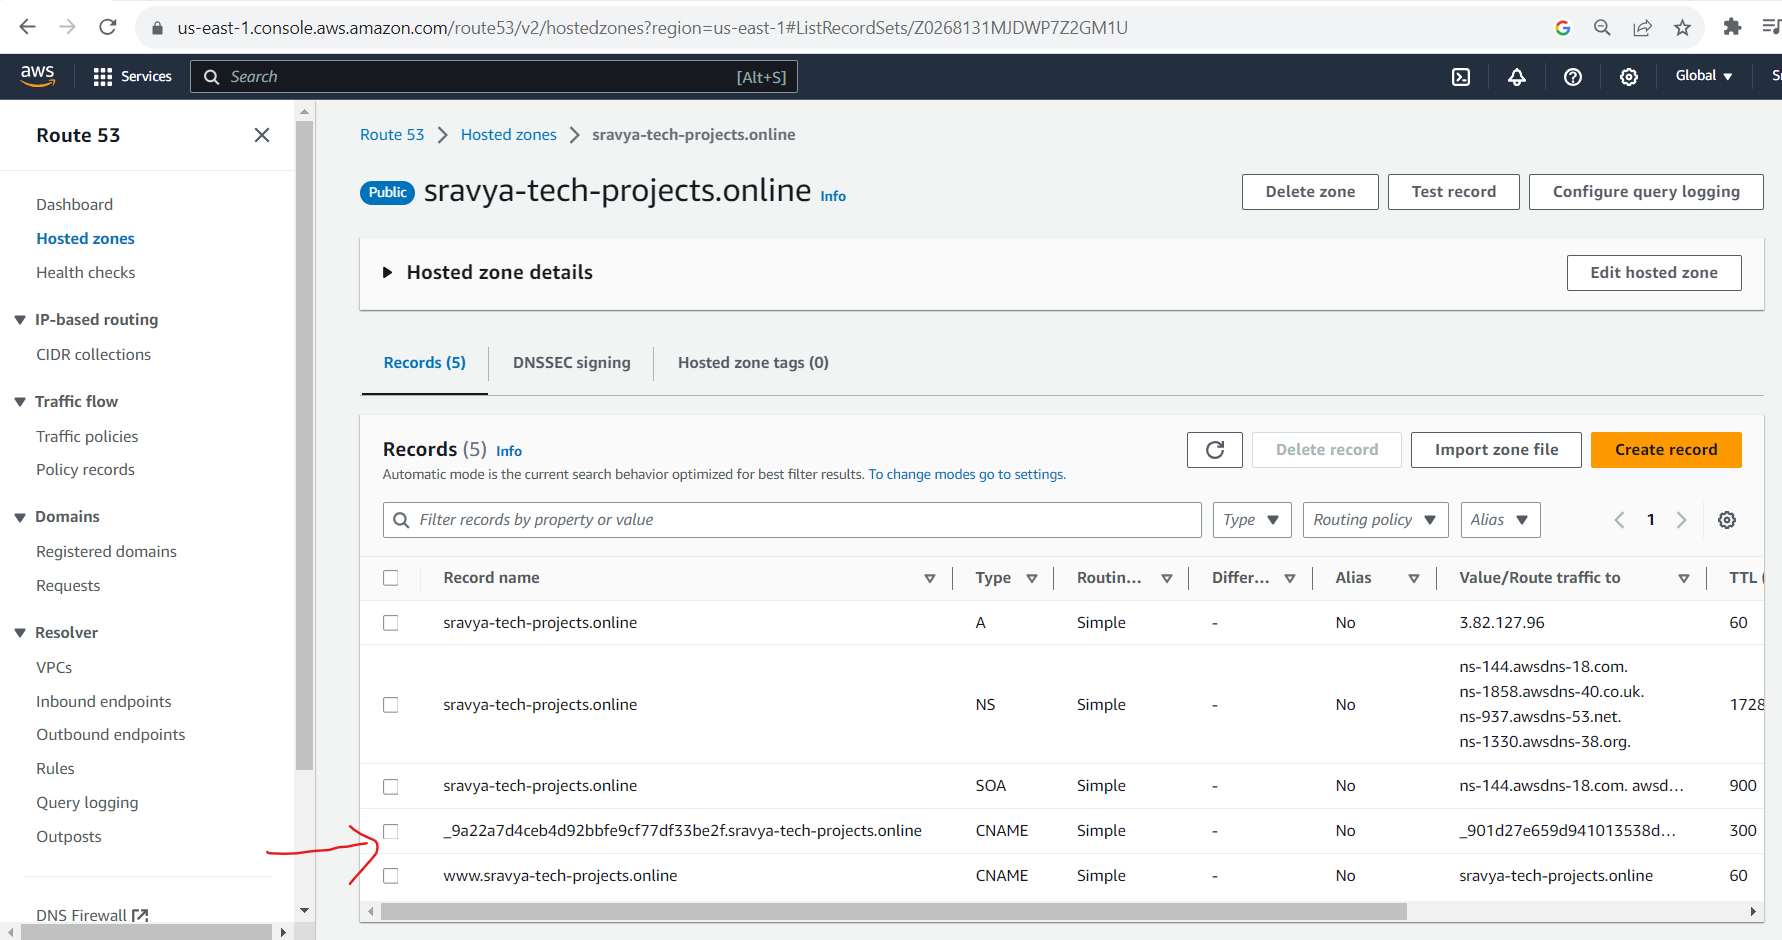
- The Certificate record updated in the Route53 hosted zone
Create a CloudFront Distribution
In the AWS Management Console, navigate to the Amazon CloudFront service.
Click on "Create Distribution."
- Select the Origin domain as an s3 bucket in the drop-down list
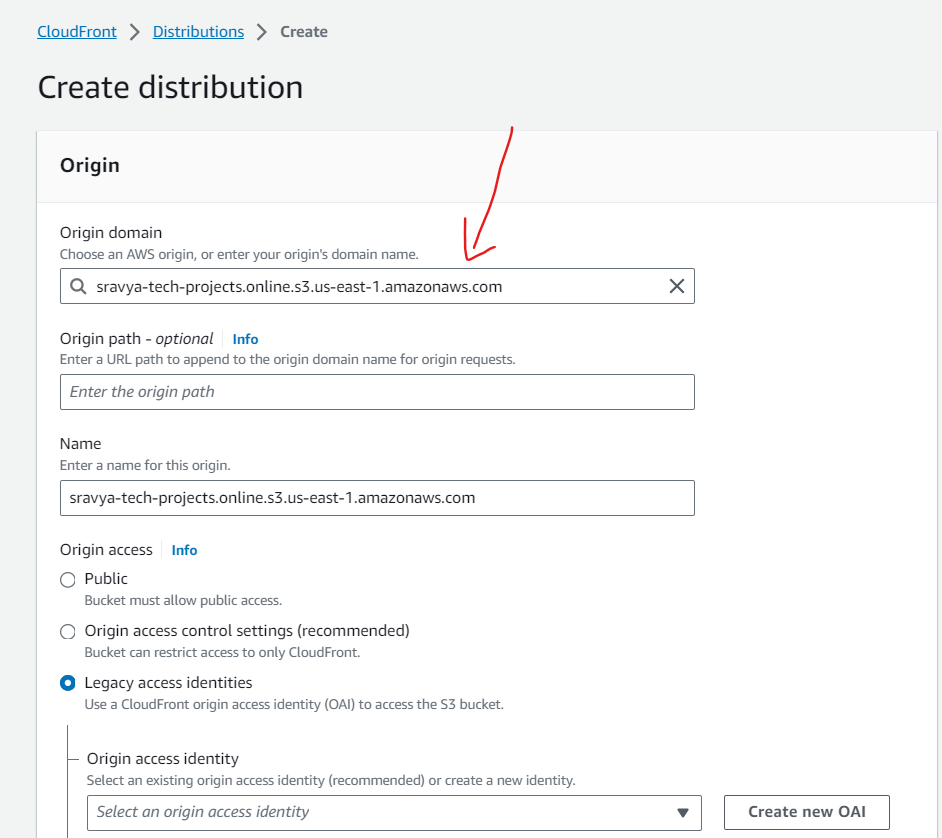
- Create a new OAI
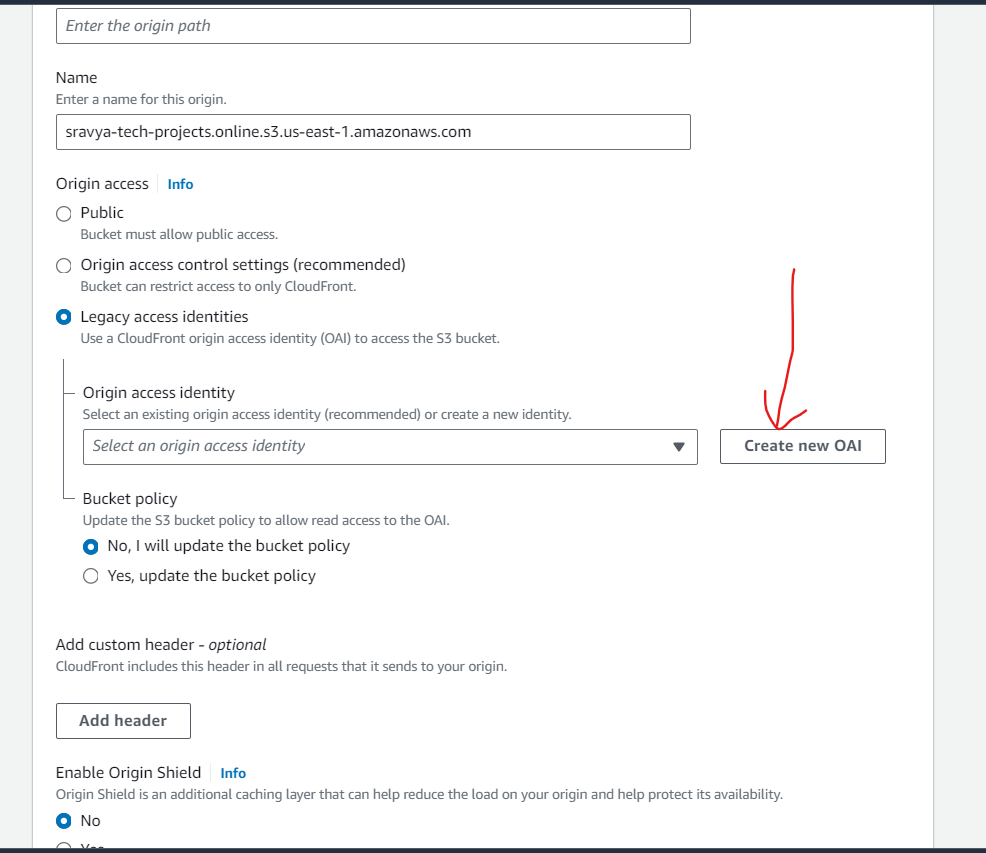
Note: In Amazon CloudFront, an OAI (Origin Access Identity) is a special CloudFront user that is used to secure the communication between CloudFront and your origin, such as an Amazon S3 bucket. The primary purpose of an OAI is to restrict access to your S3 content so that it's only accessible through CloudFront, enhancing the security of your content delivery.
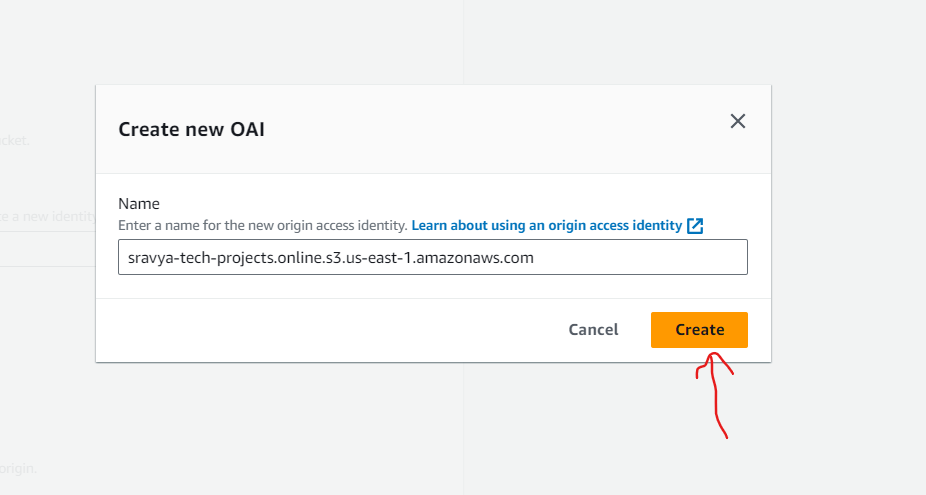
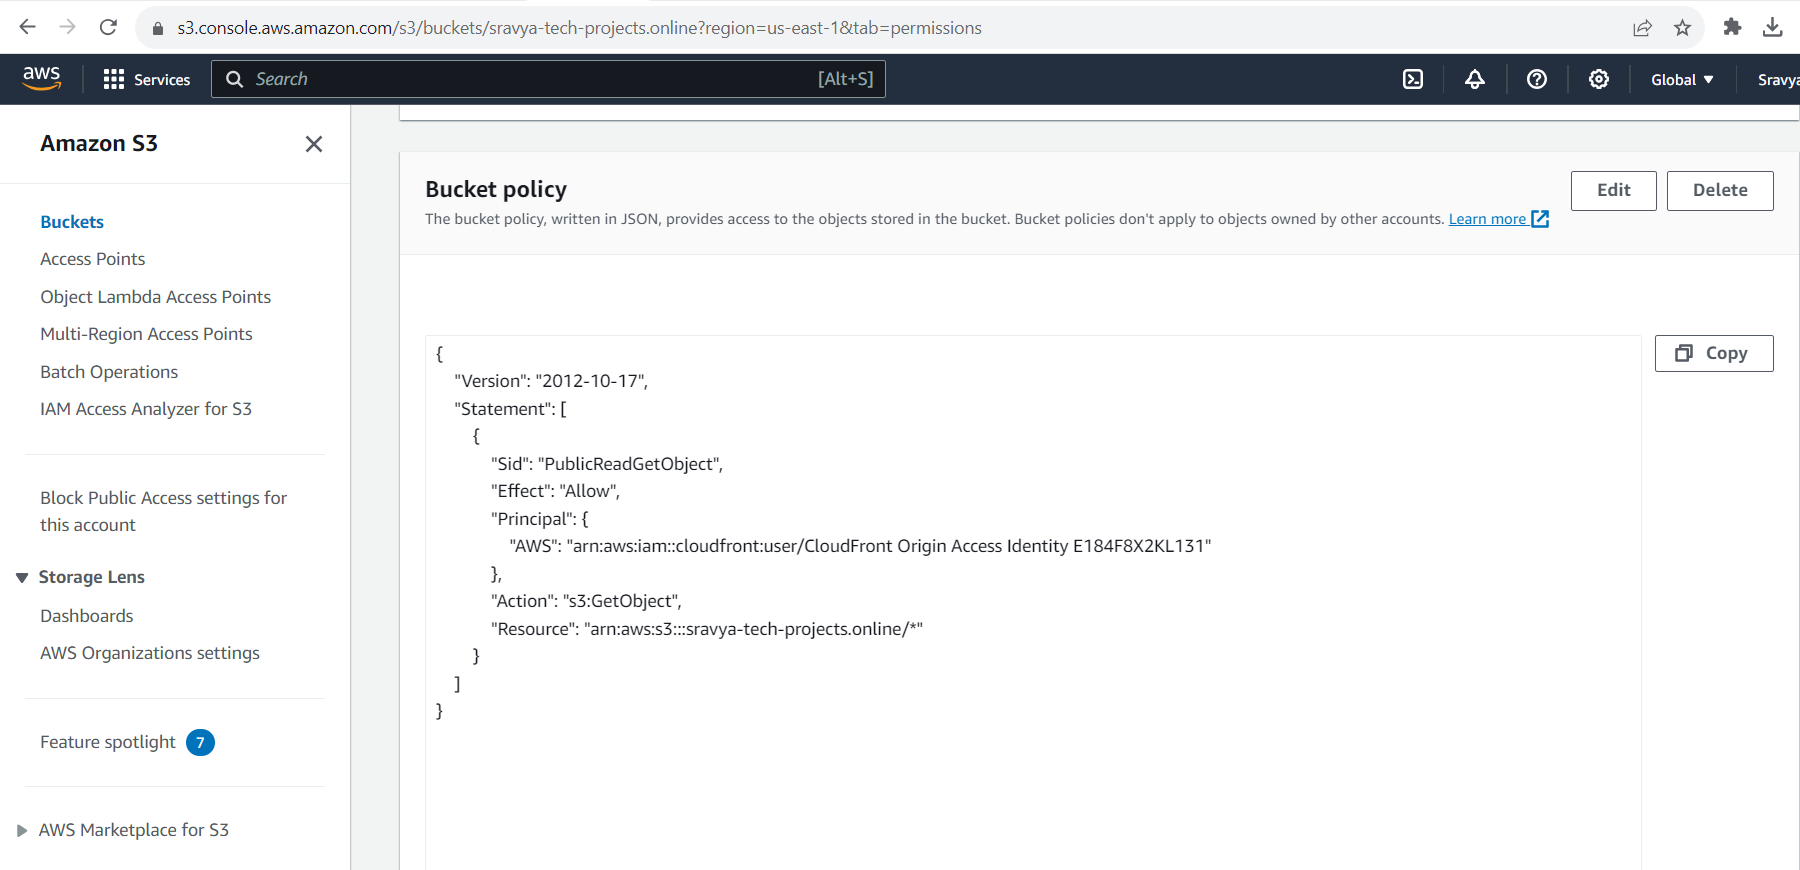
- Select the Create new OAI to secure the communication between CloudFront and S3 Bucket and select Yes, update the bucket policy to update the S3 bucket policy automatically
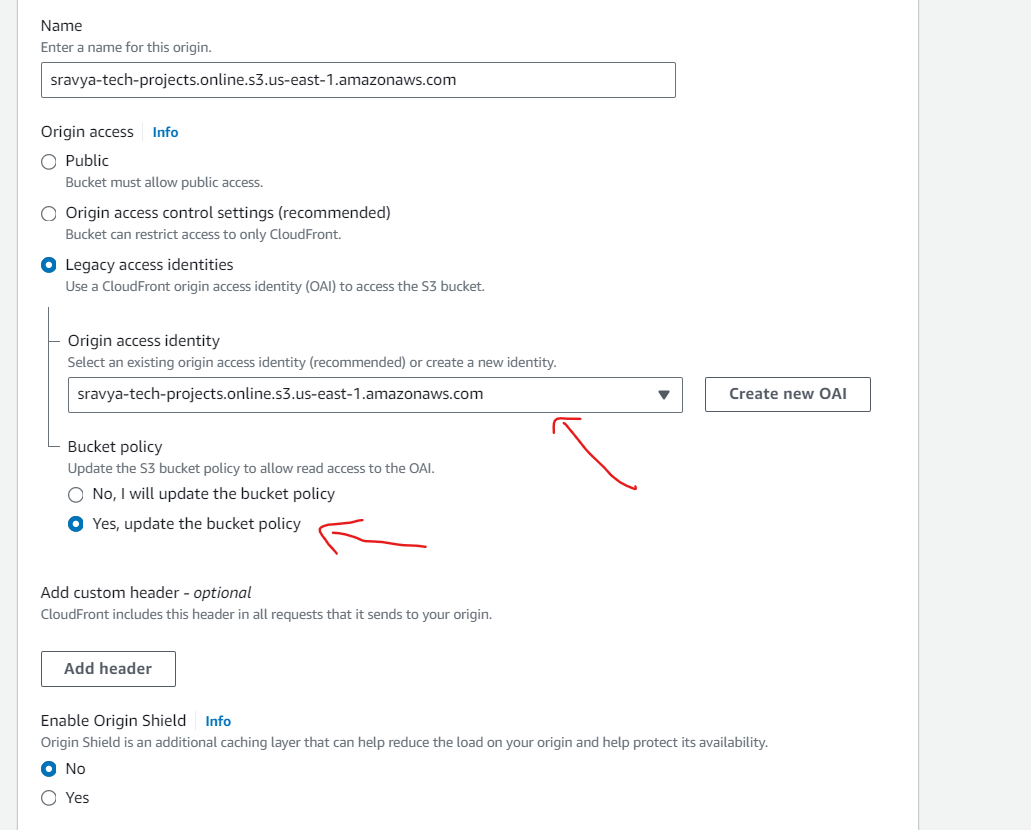
- It updated the bucket policy in the S3 bucket like below
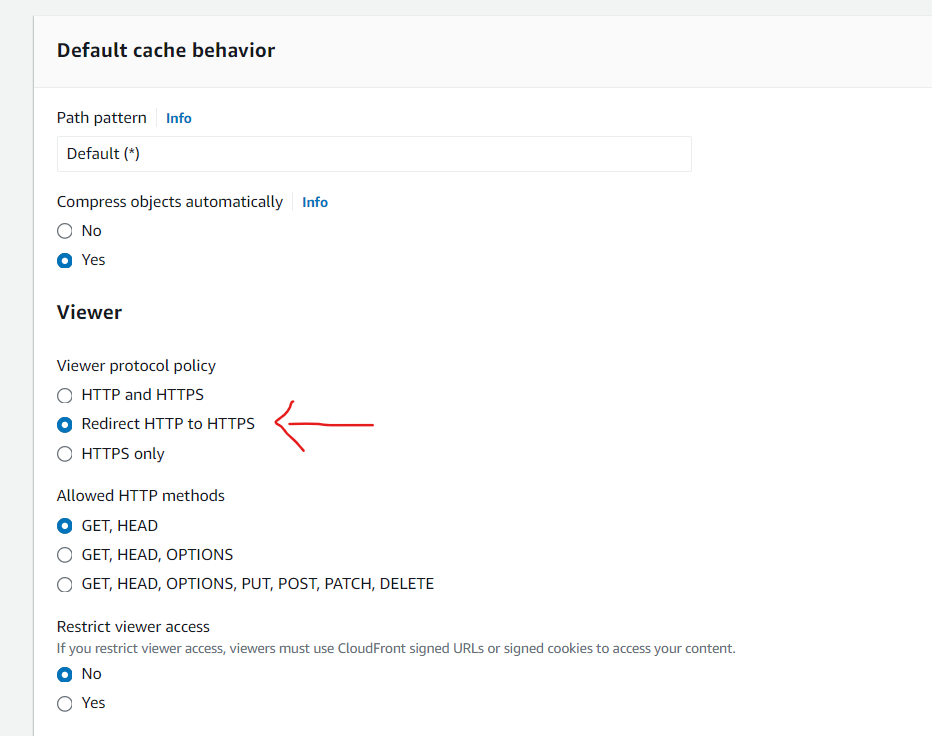
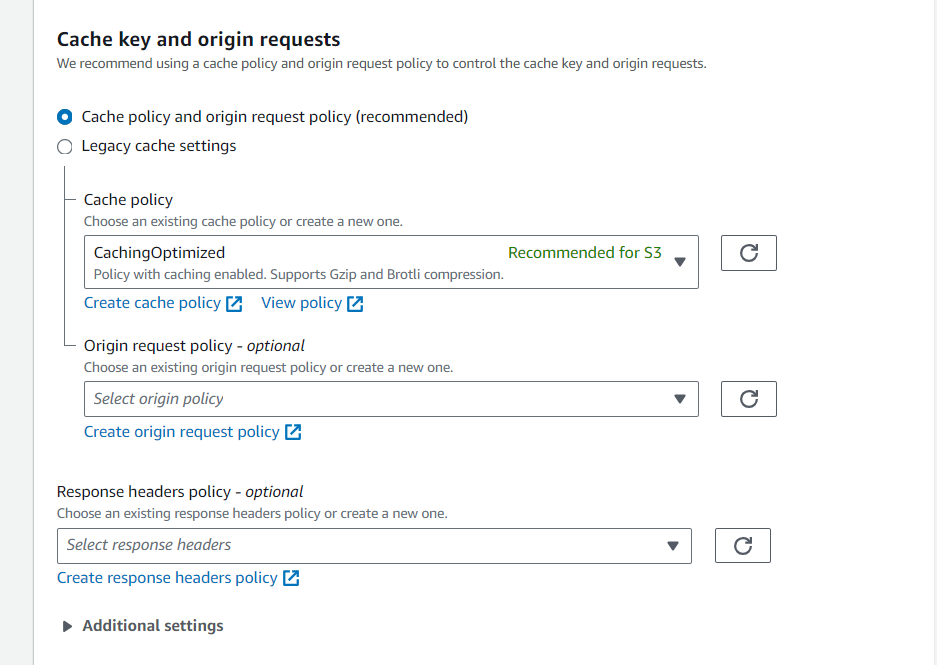
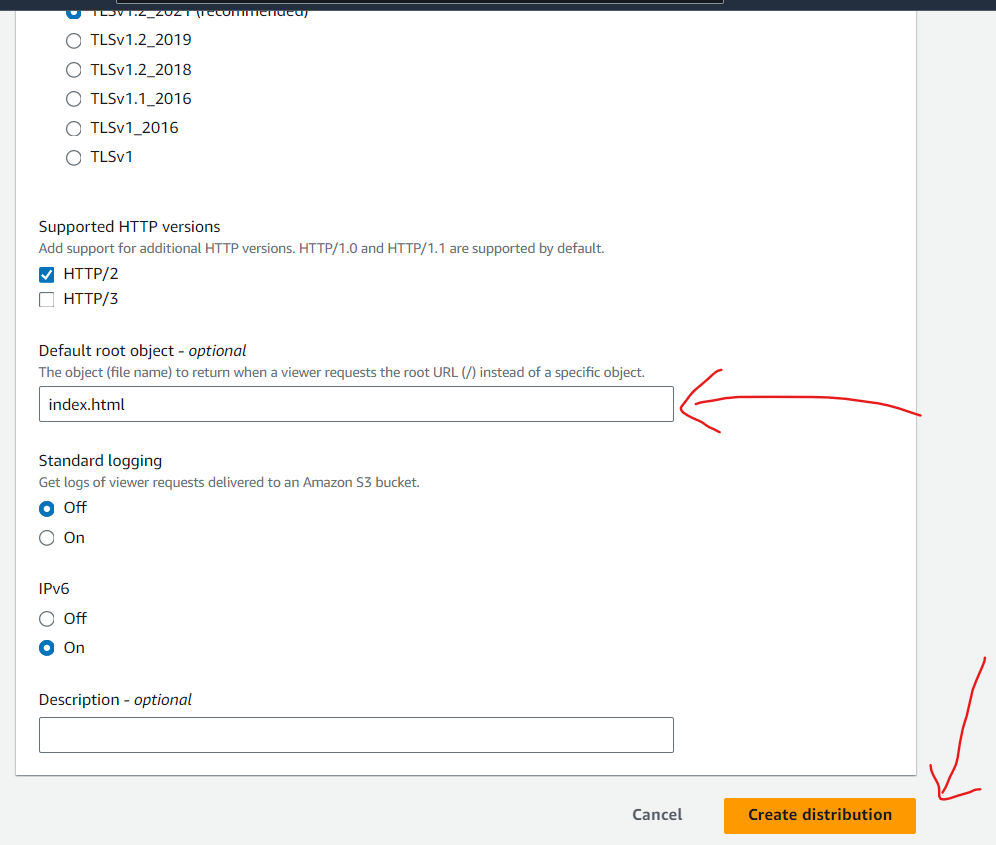
- Customize cache behavior settings as needed, e.g., set viewer protocol policy allowed Redirect HTTP to HTTPS etc
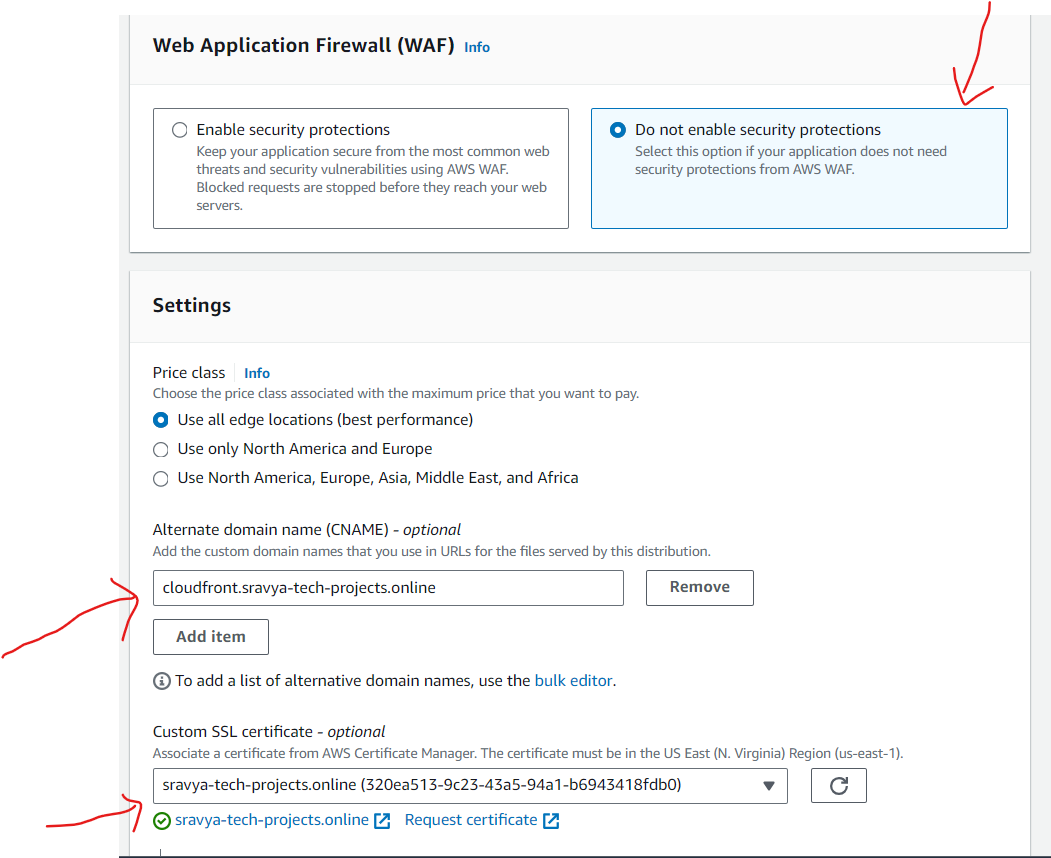
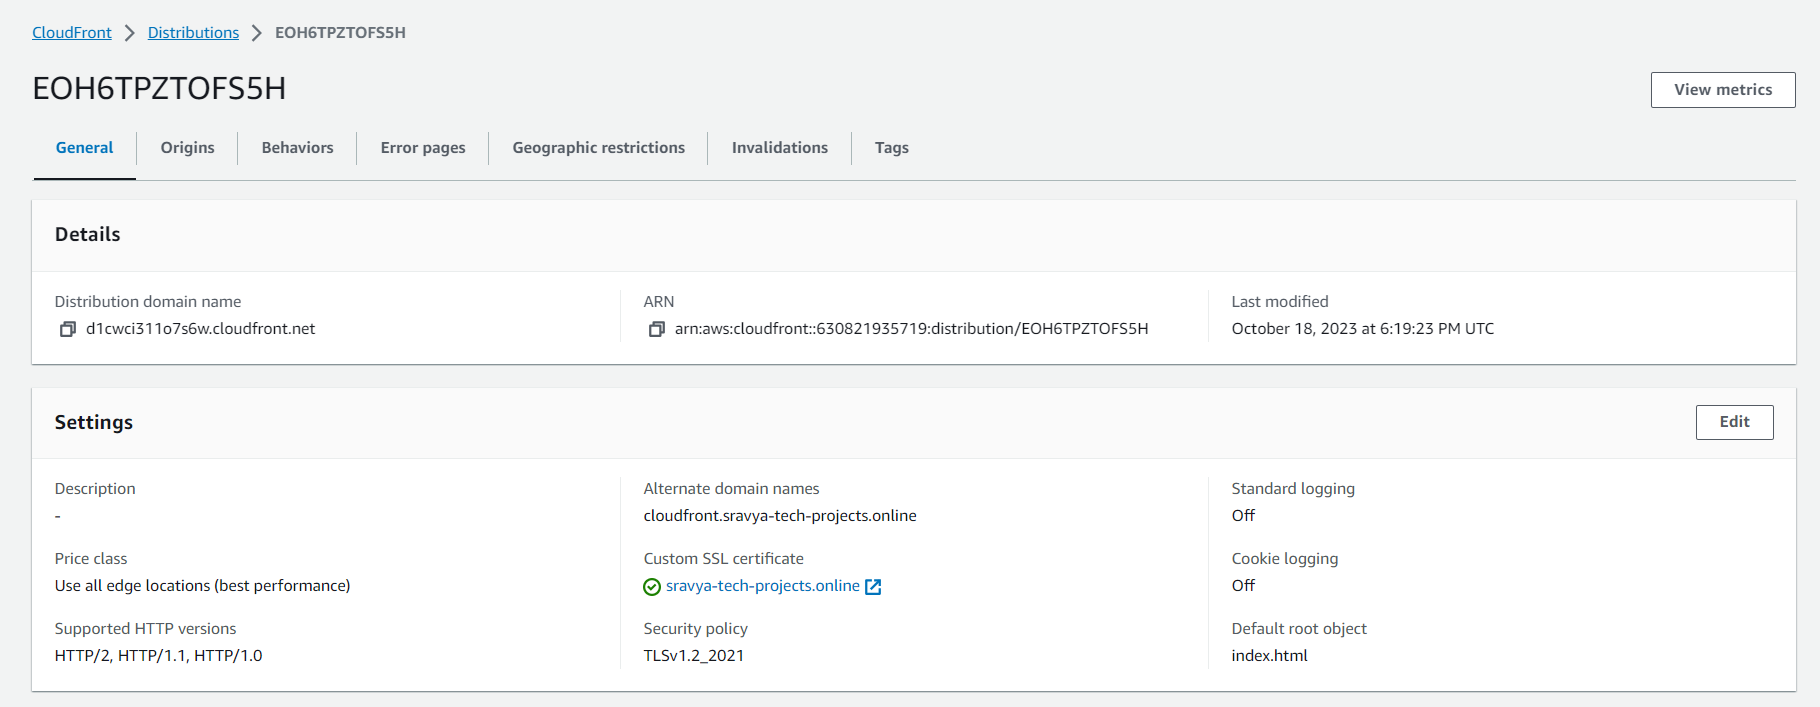
Set the CNAME (if you have one) in the "Alternate Domain Names (CNAMEs)" field. In the Route53 When creating a record for attaching Cloudfront I will give this "cloudfront.sravya-tech-projects.online" domain name for accessing the Cloudfront
Choose your SSL certificate settings
Select "Custom SSL Certificate."
Choose the ACM certificate you created in Create an ACM Certificate Step.
Add index.html object file name to return the web page which the user accessing cloudfront.sravya-tech-projects.online instead of cloudfront-sravya-tech-projects.online/index.html
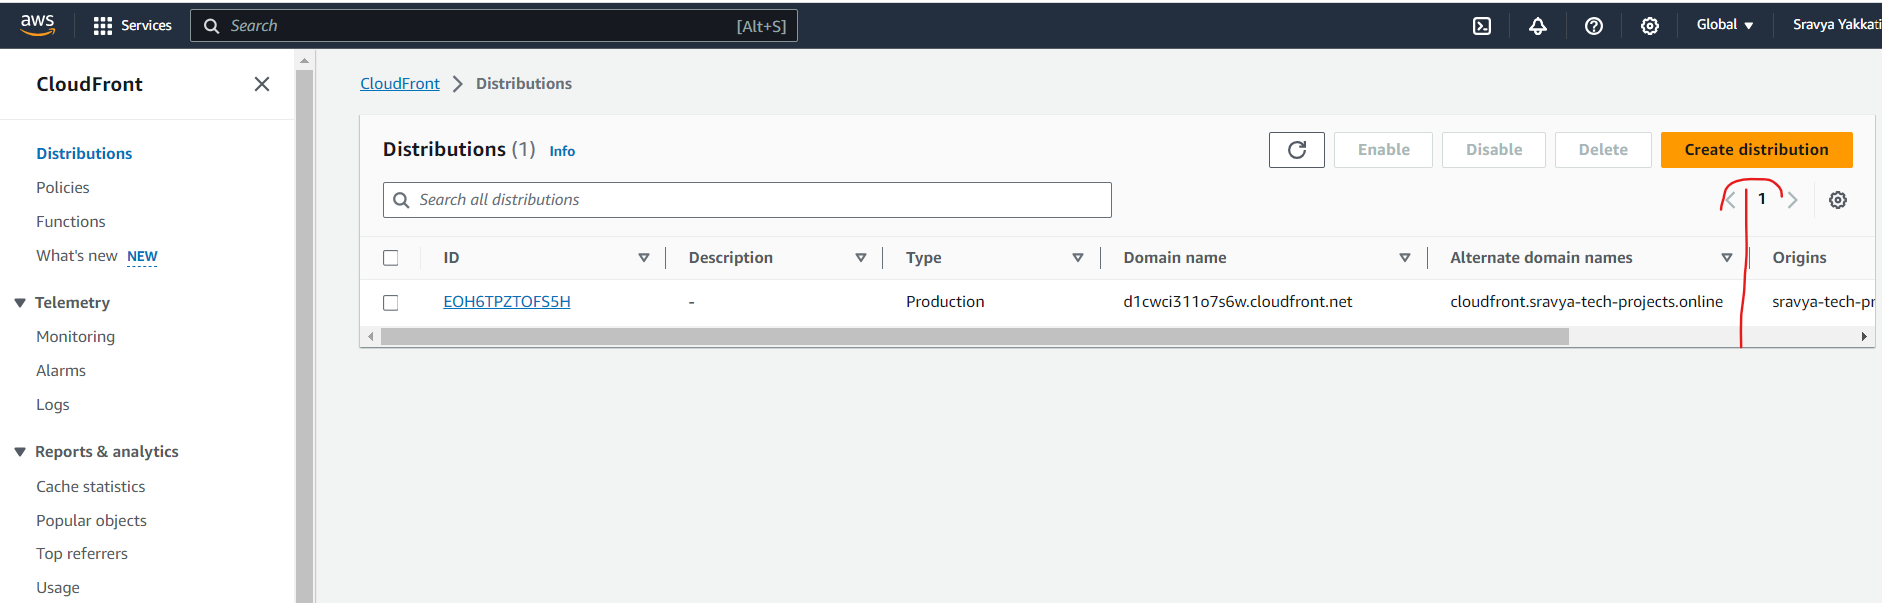
Click "Create Distribution" to create your CloudFront distribution.
Configure Route 53
In the AWS Management Console, navigate to the Amazon Route 53 service.
Inside your hosted zone, add a new record to set the Alias Target to the CloudFront distribution
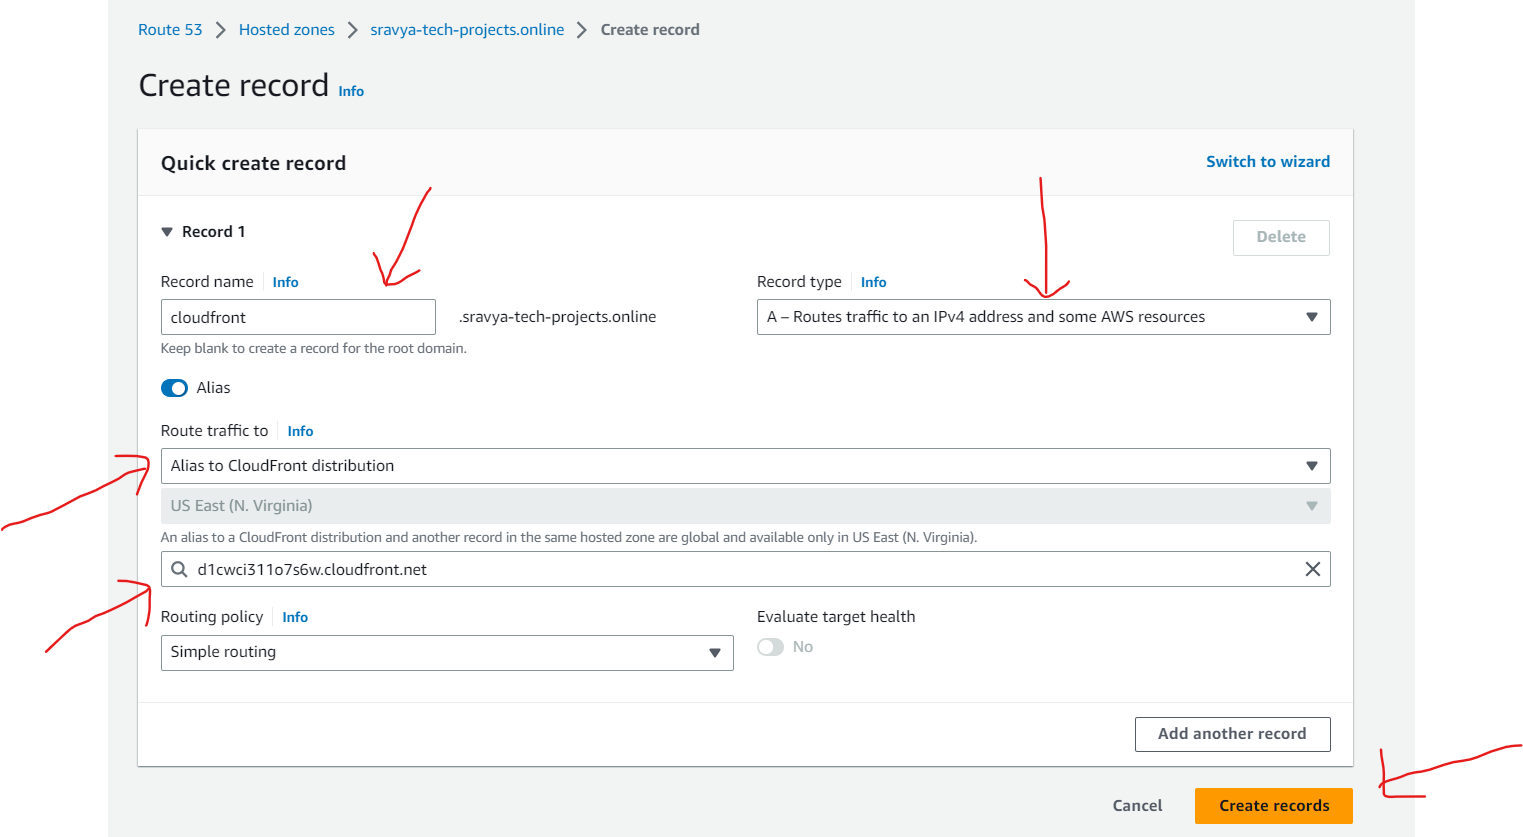
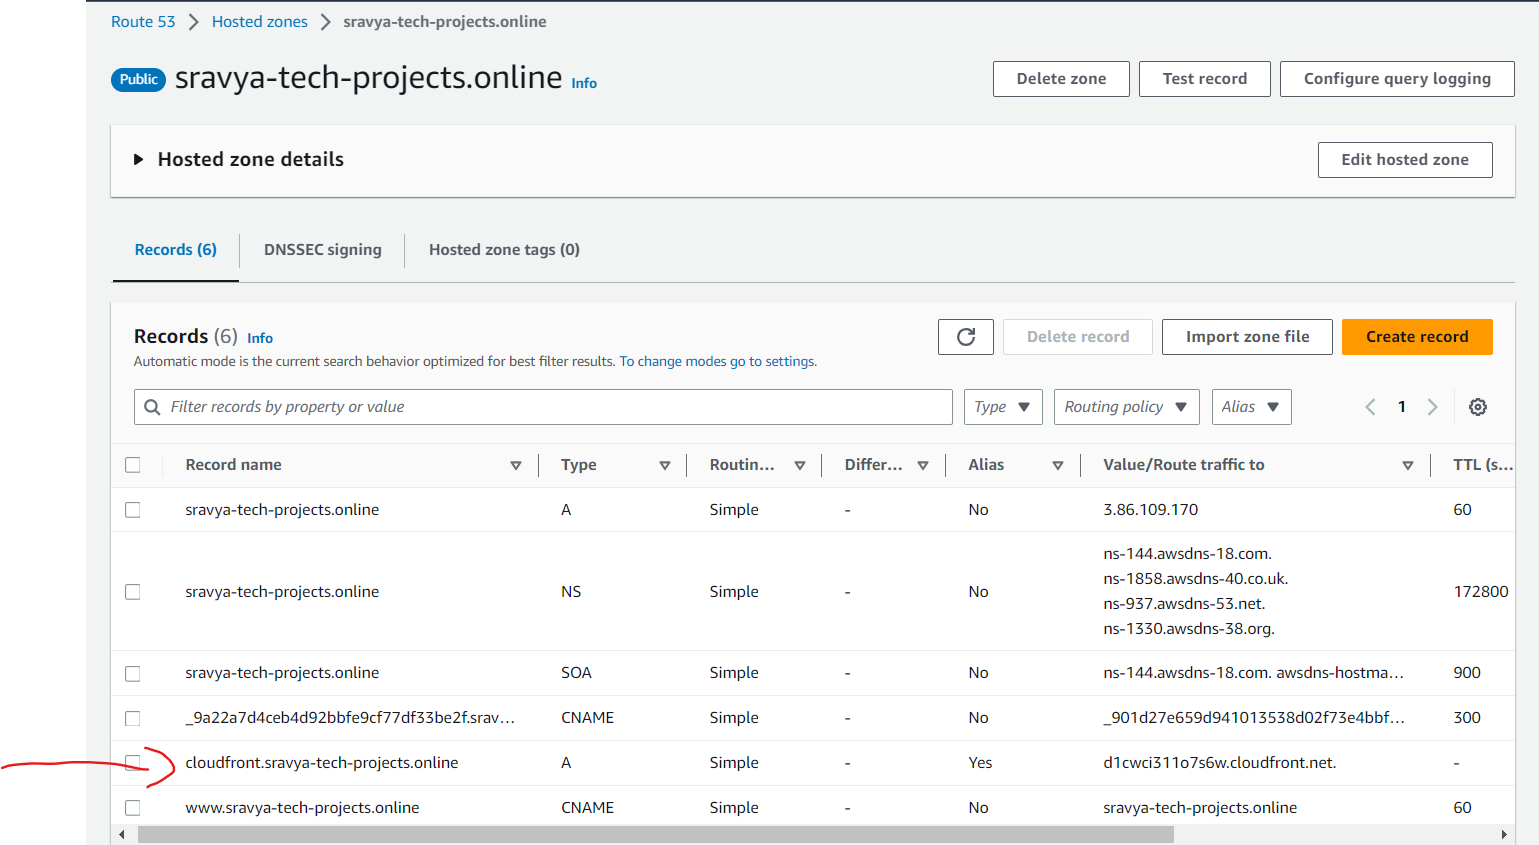
- Record added under Route53 hosted zone for Cloudfront
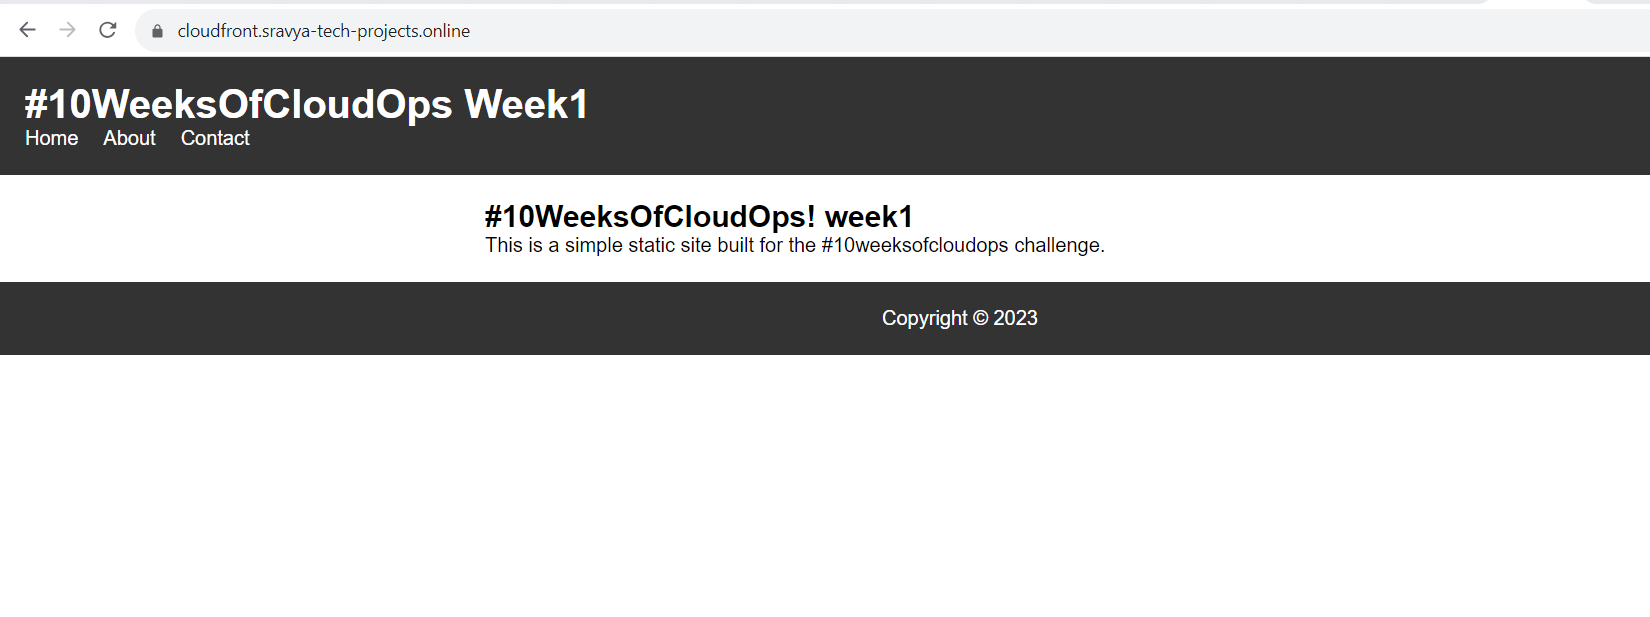
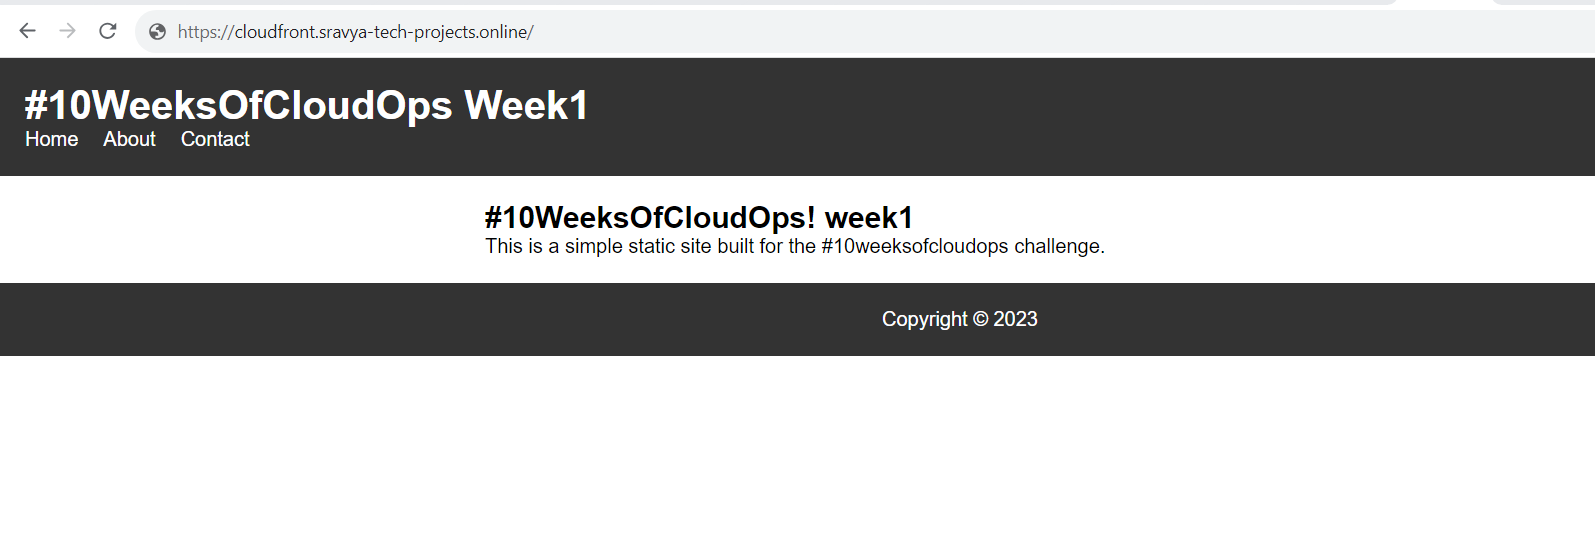
Access Your Application
You should be able to access your web application using your custom domain over HTTPS. Your application is now professionally hosted with a custom domain and secured with HTTPS, powered by Amazon S3, Amazon CloudFront, Amazon Route 53, and ACM.